


- WhatsApp chatbots enable businesses to connect with over 2 billion users globally, offering faster support, higher engagement, and conversion rates up to 45-60% versus traditional channels.
- Popular use cases include retail shopping assistance, automated FAQs, appointment scheduling, and lead generation, replacing repetitive manual work with conversational automation.
- Building a WhatsApp bot involves defining clear use cases, choosing a platform, setting up Meta’s Business Portfolio, integrating a knowledge base, designing natural conversation flows, and continuous iteration.
- Best practices include crafting a personable bot personality, analyzing real conversations to improve performance, and following privacy and security regulations like GDPR for user trust.
In all likelihood, a WhatsApp chatbot would be great for your business.
With over 2 billion active users in 180+ countries, WhatsApp is where your customers already are, and they increasingly expect instant, personalized support.
A WhatsApp chatbot makes that possible. Whether it’s for automating support, booking appointments, or generating leads, the opportunity is huge.
But where do you start? The platform-specific steps and setup quirks can leave you a little lost.
That’s why I put together this guide – to bring it all together so you can start communicating with your customers.
What are the benefits of using a Business WhatsApp chatbot?

The reason to bring your business to WhatsApp is simple: customers are already there. And more than ever, they prefer using chatbots to get things done.
Here’s why WhatsApp chatbots lead to more efficient, satisfying, and productive interactions.
Improved Engagement
Friendly, human-like messaging is a huge step up from skimming information off a webpage. Chatbots can mirror tone and simulate compassion. With light tweaking, they can be made to access the user’s activity/history for extra context, turning an otherwise dry interaction into a personalized exchange.
Packaging this workflow into a WhatsApp conversation keeps it comfy. Users don’t have to install an app or learn a new interface. They just chat.
More Sales Opportunities
Businesses using WhatsApp have reported a 45-60% conversion rate, compared to 2%-5% for email and SMS.
Why? Because recommendations in a conversational format feel more relevant. A WhatsApp chatbot can guide users through product discovery, answer questions in real time, and nudge them toward purchase — all in one flow.
Faster Customer Support
Chatbots are available 24/7, reply instantly, and don’t forget what they’ve been taught. This is vital when users expect immediate responses to their questions.
Lower Costs
Simple, repetitive questions don’t require human intervention. With 80% of customer support questions being standard, bots can keep your attention focused on the complex matters.
Common Use Cases for WhatsApp Chatbots
WhatsApp chatbots are flexible, but most fall into a few core cases. Here are some of the most popular ones (and why they work).
Retail Chatbot
A personal shopper need not be a person. Retail chatbots will handle customer engagement, all while driving business and converting leads. With product recommendations, order management, and checkout functionality, this use case goes beyond the passive problem solver.
FAQ and Customer Support
FAQ chatbots are great, since anything repetitive is well-suited for automation. FAQs usually live on a dry webpage anyway, so why not add a human flair?
Appointment Booking and Consultation
Can you think of a task more tedious and error-prone than booking meetings? I can say from experience that appointment booking agents have single-handedly saved me from constant double-bookings.
Offloading the back-and-forth to a bot is easy, reliable, and saves you from the headache of scheduling conflicts.
Lead Generation
On the topic of tedious-yet-sensitive tasks. Business owners can find themselves so busy trying to stay above water they can forget to focus on their bottom line: growth.
Lead generation bots take the edge off data collection and cold-calling. They keep track of customers’ needs and your goals, and execute in a friendly, conversational flow.
How to Build a WhatsApp Chatbot in 7 Steps
Now that we’ve got a sense of the possibilities WhatsApp offers, how do we get our chatbot off the ground?
1. Define Your Use Case
Some use cases probably stood out more than others — especially in industries where chatbots are already flourishing. Decide what your business needs and take it from there.
2. Choose a Platform
You can get a bot up and running with little or no code in minutes using a chatbot platform. Here are a few popular options:
Botpress
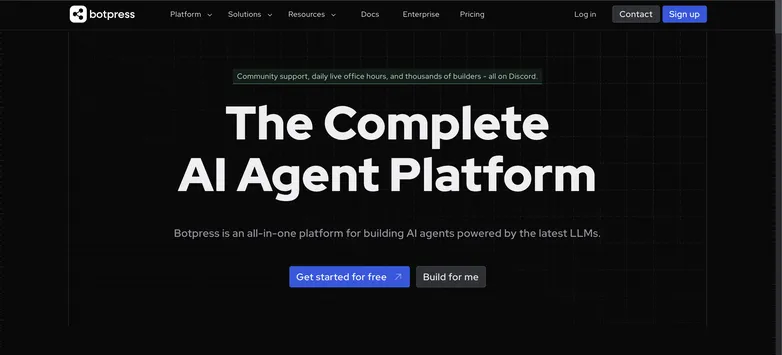
A highly extensible platform for building AI-powered chatbots with numerous integrations – including WhatsApp.
- It features an intuitive visual builder with coding support for more advanced flows.
- Integrations are quick and easy– setting up WhatsApp, Slack, Twilio, and others requires little setup.
- Resources like the Botpress Academy, video tutorials, and the Discord server guide you through the process of building, tweaking, and debugging.
Landbot
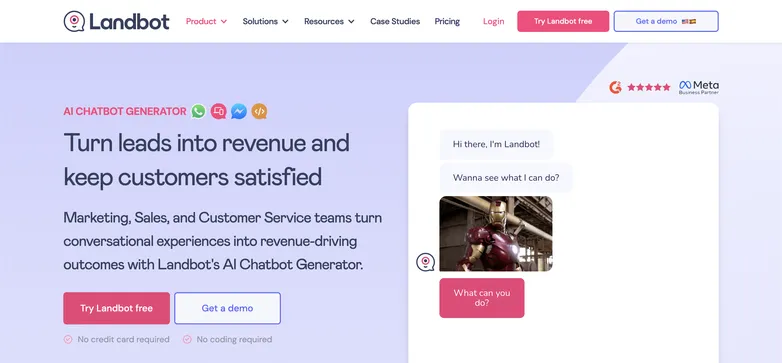
A simple no-code platform with a clean and drag-and-drop interface to design basic conversations.
- Great for quick iterations on lead capture, surveys, and simple workflows.
- However, Landbot’s NLP engine is limited, and might struggle with multi-turn conversations.
- Less flexibility for teams looking for custom flows.
Engati
An out-of-the-box platform that supports quick WhatsApp bot deployment.
- Easy to set up and beginner-friendly, with a visual builder and pre-built templates.
- Like with Landbot, it has pretty basic NLP capabilities and limited customization.
3. Create a Meta Business Portfolio
A WhatsApp business account is needed in order to send and receive messages from a bot. For that, you’ll need to create a Meta Business Portfolio. It will require a name and some web presence – either a website or a social media page.
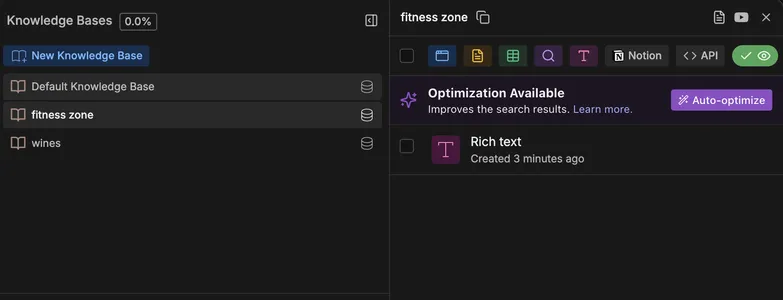
4. Add a Knowledge Base
In nearly all cases, your bot is going to rely on information. This includes policies and FAQ, product inventories, customer data, and much more.
Clean, well-formatted documents make all the difference when it comes to building bots with RAG (retrieval-augmented generation) capabilities.
5. Determine the Flow
The goal of a bot – especially in the case of WhatsApp – is to make interactions feel like a chat, while remaining clear and effective. This is about personality and functionality.
Personality
I like to think of this step as answering the question: how will users interact with the bot?
Will they want quick answers to simple queries, or more personalized service? Do we want a friendly tone, or a more authoritative one?
Functionality
A healthy flow is about maximizing efficiency with minimal complexity. The user shouldn’t jump through hoops for simple processes; simple FAQ queries shouldn’t require a series of follow-ups. On the other hand, delicate operations – like purchases and returns – should give the user a chance to confirm.
Think about how you use WhatsApp, and what makes conversations feel, well, conversational.
6. Connect and Deploy to WhatsApp
We have a Meta Business Portfolio and a working chatbot, and now it’s time to connect the two.
To connect to WhatsApp:
- Open your chatbot project and navigate to the studio
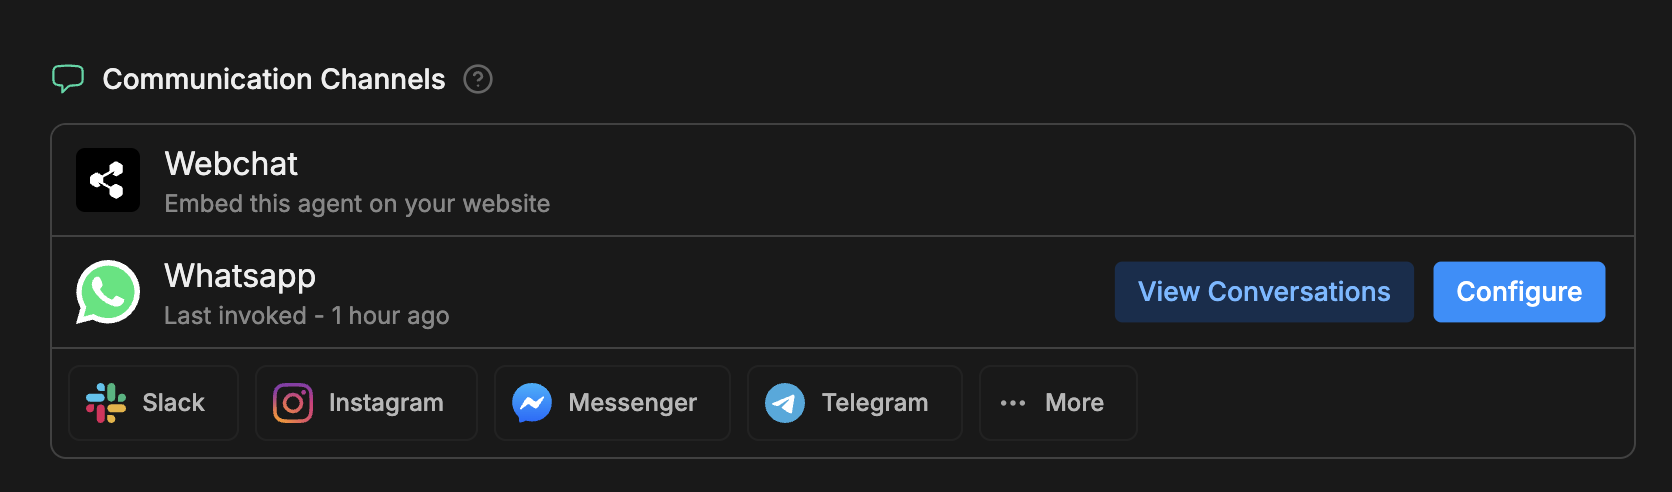
- In the Home tab, scroll to Communication Channels
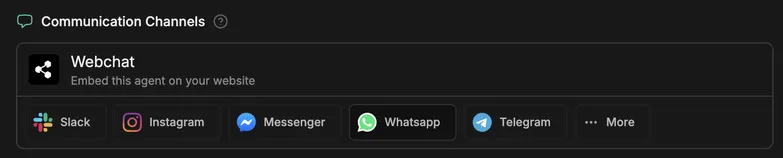
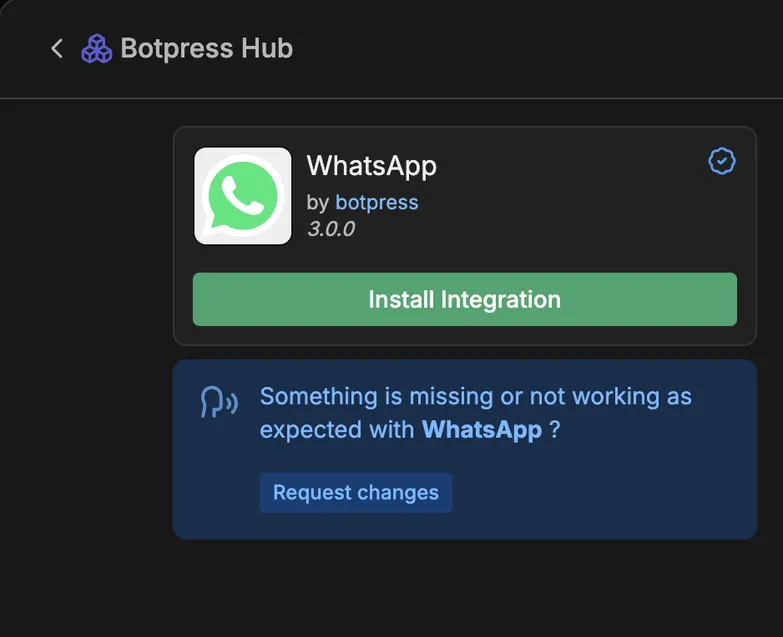
- Select WhatsApp from the list of options.
- Click Install Integration
- Click Authorize WhatsApp
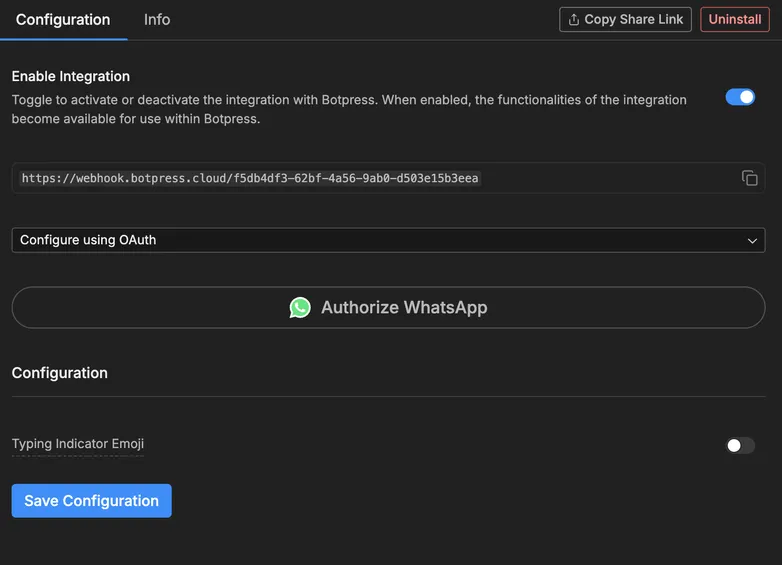
- Follow the instructions in the pop-up window.
This will carry you through the process of connecting your Meta Business Portfolio and creating a WhatsApp Business Profile.

You’ll need a phone number that isn’t already linked to a WhatsApp account. If you don’t have one, WhatsApp can assign you a new number during setup — and it’ll work in production.
- Hit Save Configuration.
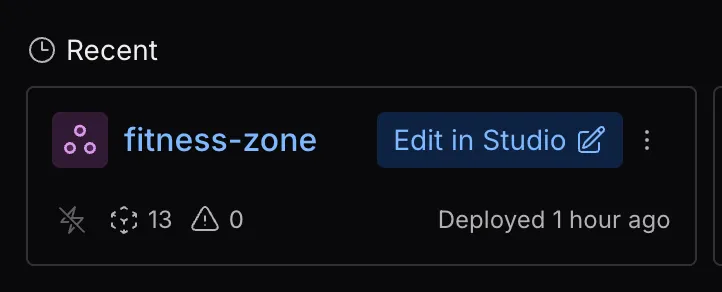
That’s it! To deploy, you just need to hit Publish on the top-right corner of the studio.
7. Iterate and Improve
Rome wasn’t built in a day (because they didn’t have chatbots).
You’ll surely run into quirks, mistakes, and inefficiencies. Fortunately, a good platform is highly customizable.
Some bots’ responses are unfocused. It could help to route queries to separate nodes.
Maybe you’re not crazy about your bot’s tone. A few sample greetings might help.
Monitoring performance and seeing how customers use the bot will be crucial to getting the most out of it. Fortunately the WhatsApp integration gives you the option to view past conversations.
You may notice that the bot deviates from the Knowledge Base in a long chat with multiple follow-ups. Looping to specific nodes can help with that.
The possibilities are endless: that’s a blessing, a challenge, and a solution.
The Best Practices for Building WhatsApp Chatbots
There are as many bots as there are businesses, but there is some wisdom to be shared that’ll steer you in the right direction.
Make Your Bot Personable
Bots don’t have to sound robotic. A little personality can go a long way towards user satisfaction.
- Use non-repetitive, friendly language: Stay away from scripted responses that feel stale.
- Match the speaker’s tone: If they’re casual, be casual. Short questions? Short answers. Some might be more verbose, follow suit.
- Make room for natural conversation: Allow backtracking, corrections, and clarifications.
- Don’t oversimplify: Avoid rigid yes/no flows that break when the user goes off-script.
Iterate, Iterate, Iterate
Your bot won’t be perfect out the gate. It’ll take some trial and error to get it right.
- Analyze past conversations to see where you can do better.
- Keep your knowledge base up to date as your business’ information changes.
- Update your flow logic as needed. Small tweaks can make big improvements.
Build and Maintain Trust
Users will trust your chatbot – if it earns it. A few best practices can make your bot feel reliable and safe.
- Keep it simple: Give users direct answers to questions, accurate information, and make sure the bot is transparent about what it can't do. Do your best to keep the bot from hallucinating (making up false information).
- Follow privacy and security practices: Make sure you comply with security and privacy regulations in your country and, in many cases, the countries of your users. It helps to read up on compliance practices, such as building GDPR-compliant chatbots. Your best bet is to use a platform with robust built-in security measures.
Build a WhatsApp Chatbot Today
Your customers are already on WhatsApp, and now it’s time to meet them there. With built-in WhatsApp integration and support for RAG, Botpress makes it easy to build powerful, customized AI chatbots.
Our free tier and pay-as-you-go plans let you start small, and scale from there.
Start building today. It’s free.
FAQs
1. What is a WhatsApp chatbot and how does it work?
A WhatsApp chatbot is an automated conversational agent that interacts with users on WhatsApp through the WhatsApp Business API. It works by connecting your WhatsApp Business account to a chatbot platform, which handles message flow and logic, allowing for features like appointment booking or FAQ handling in real time.
2. Why should I use WhatsApp instead of other messaging channels like email or SMS?
You should use WhatsApp over email or SMS because it has a 98% open rate and much faster response times, plus it supports rich media (images, files, quick replies) in a conversational format that feels natural to users. It also allows persistent sessions and is globally recognized as a trusted messaging app.
3. What kind of businesses benefit most from WhatsApp chatbots?
Businesses that benefit most from WhatsApp chatbots include retail (for order updates and promotions), healthcare (for appointment reminders), logistics (for delivery tracking), hospitality (for booking confirmations), and local services that rely on quick, mobile-first customer interaction.
4. How secure is a WhatsApp chatbot for sharing customer information?
A WhatsApp chatbot is secure for customer interactions because WhatsApp provides end-to-end encryption for messages in transit. However, you still need to ensure that your chatbot platform securely stores or processes user data and follows regional compliance laws (like GDPR, HIPAA, or POPIA).
5. Can the same chatbot run on both WhatsApp and my website?
Yes, you can run the same chatbot on WhatsApp and your website using platforms like Botpress, which support multi-channel deployment. The core bot logic and knowledge base remain shared, while the interface is adapted per channel.