Chatbot Personality

In Botpress you can give your chatbot a personality that will customize all messages and questions sent. This will help your chatbot engage with users and convey your brand's voice. For example, if your brand is fun and playful, your chatbot's personality should reflect that. If your brand is more serious, your chatbot should be too.
Setting up Personality
-
Open Botpress Studio and click on the Agents tab (robot head) located at the top-left corner.
-
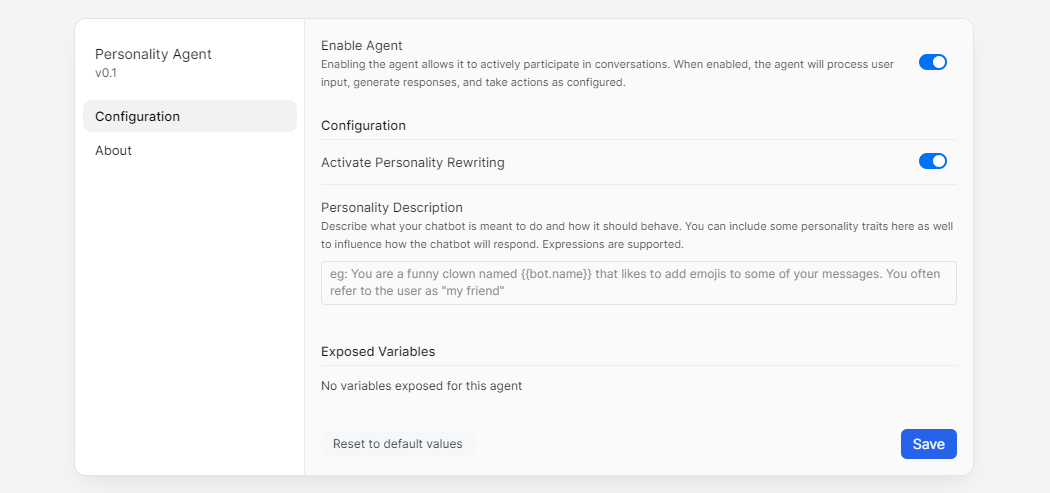
Select Personality Agent from the list.
-
Enable the Agent and the Personality Rewriting option. Now add a description of the personality you want your bot to embody. You can use variables to make it dynamic.
-
That's it, your bot's personality is now set up!
Info
All of your bot's messages in Text cards and questions in Capture cards will be rewritten to match the personality you defined.
If you don't want the Personality Agent to change the content in certain nodes, click on the Node to open the Inspector view and then disable the "Personality Rewriting" option. Now the content of this node will be left untouched.
Tips
- In the personality description, make sure to specify the tone you want your chatbot to convey, for example, "friendly but professional". You can also instruct it on how often it should use emojis or slangs.
- Also consider the context in which the bot will be used and adjust the personality accordingly. For instance, if the bot is for a tech startup, the personality might be dynamic and forward-thinking.
- Test the bot's personality to ensure it aligns with your brand and effectively engages with users.
- Using the Personality Agent is a great way to have your bot say or ask something in different ways without having to add the variations yourself. The Agent will usually slightly change the message wording on every interaction, but it will always convey the same meaning.
Updated about 2 months ago