Webchat
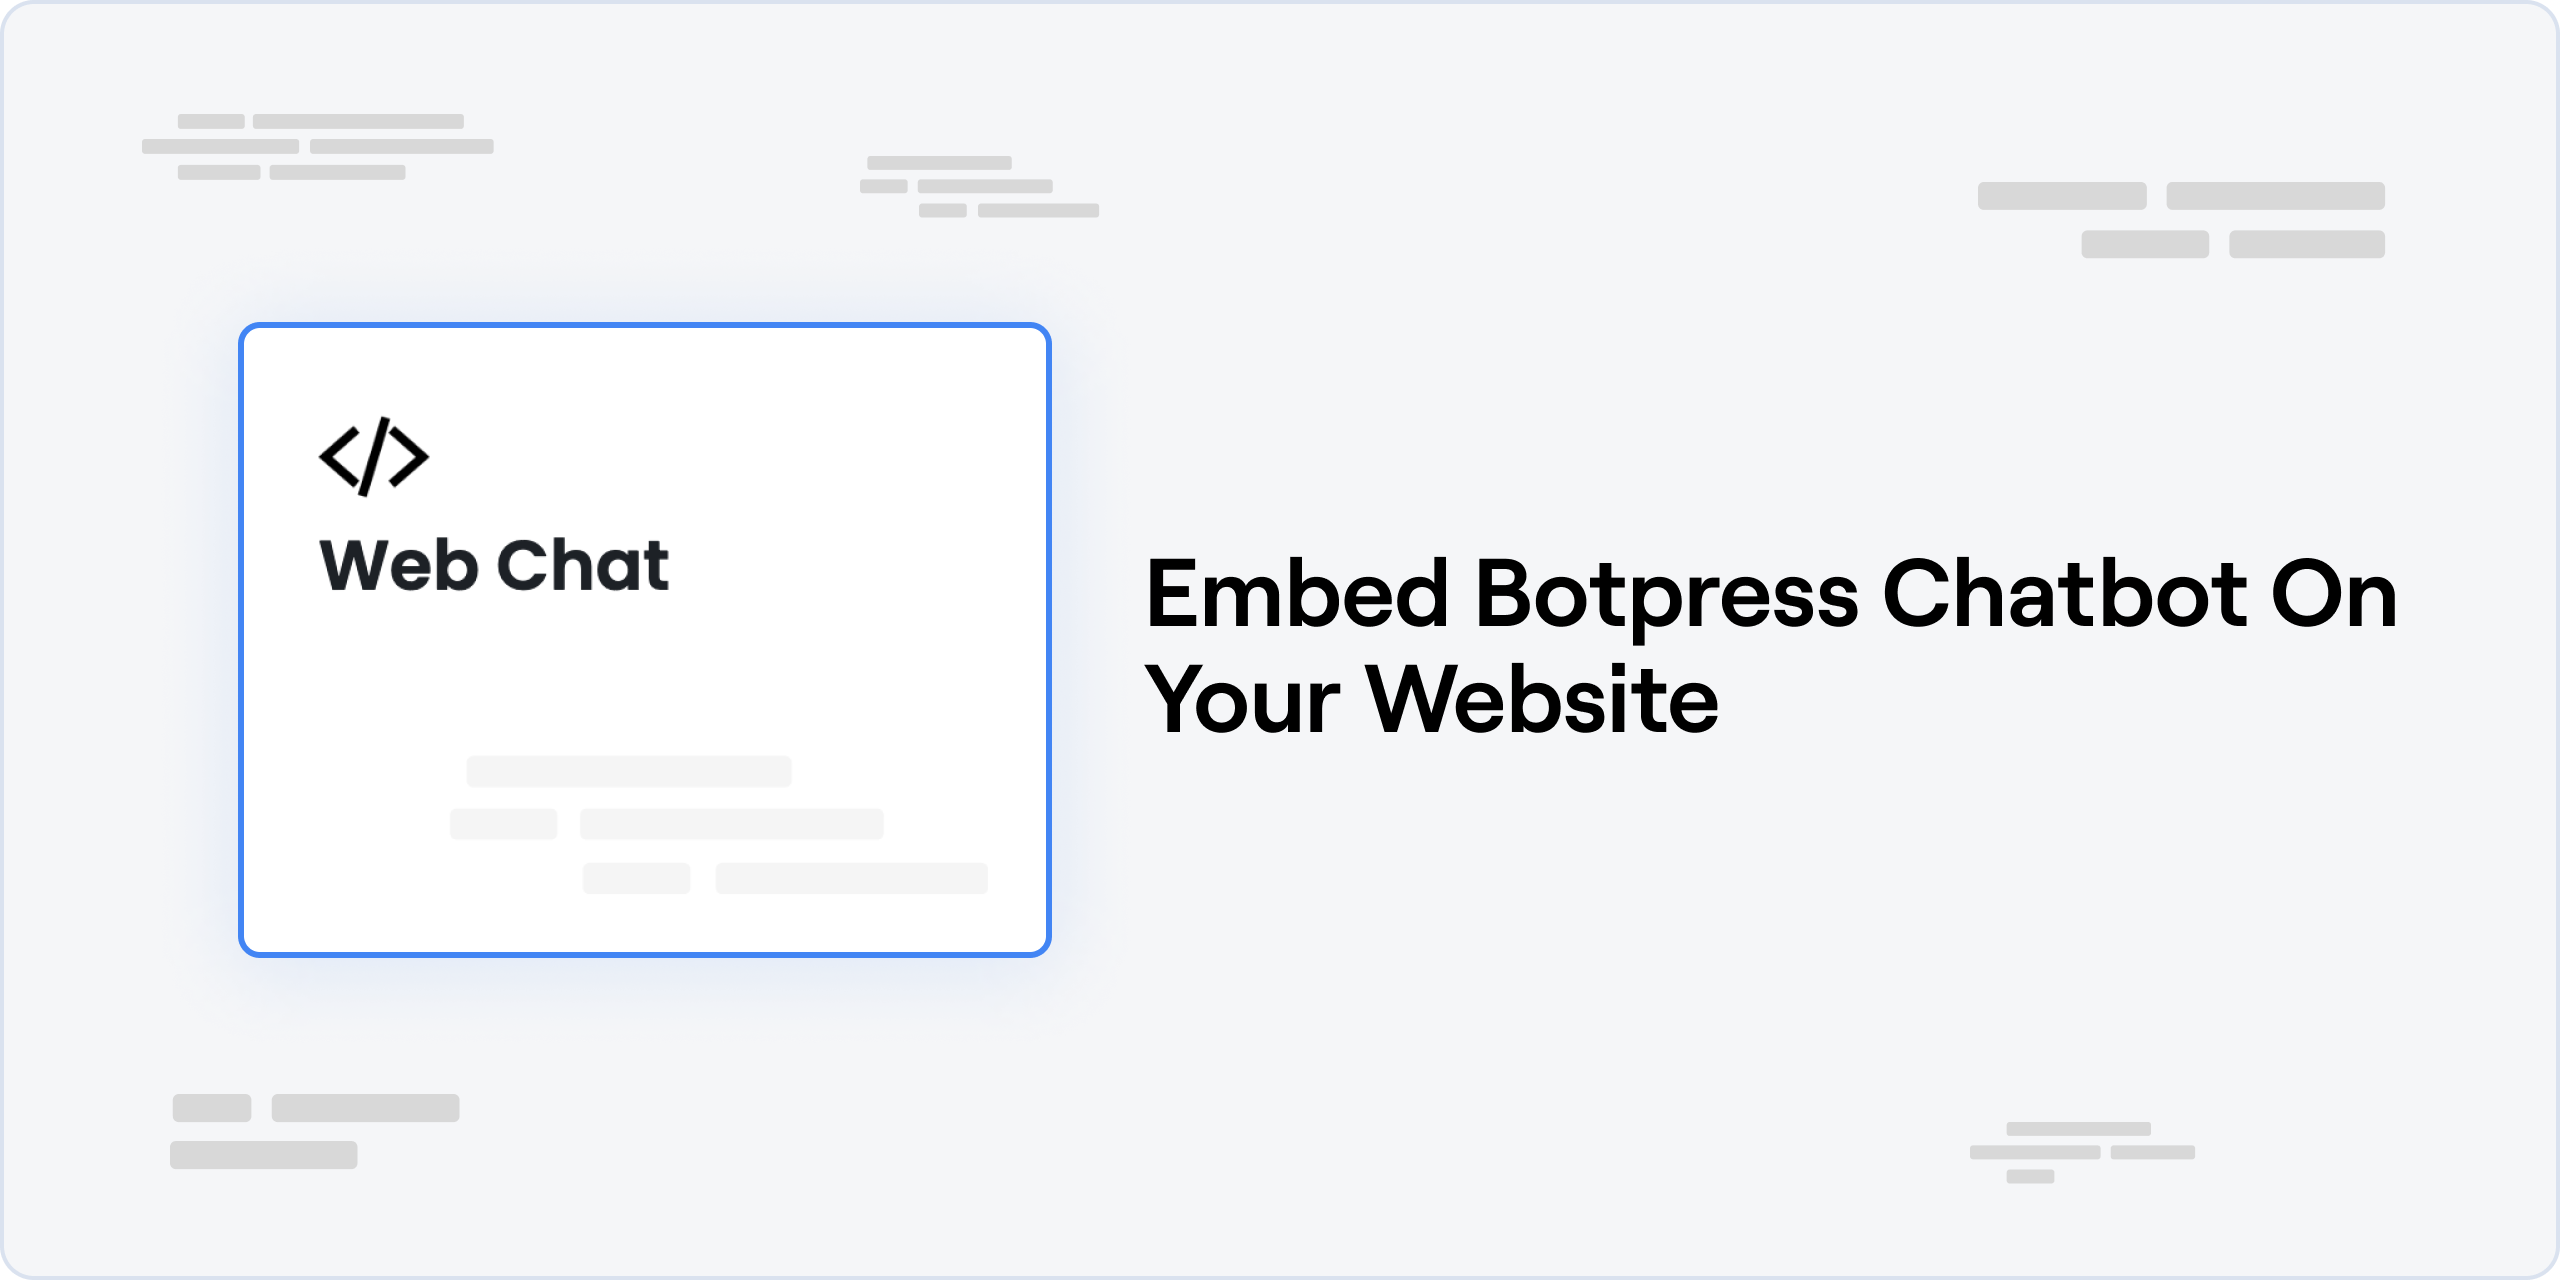
The Webchat is a widget that you can add to your website to allow your users to interact with your chatbot. It's a great way to provide support to your users and answer their questions.
Prerequisites
- A Botpress Cloud account and a Botpress Bot
- Make sure you've published your Botpress bot.
Setting up the Webchat integration in Botpress
- Go to the Integration Hub in Botpress Cloud (if you don't have the integration installed yet).
- Find and open the Webchat integration then click on the "Install to Bot" button, now go back to your bot.
Setting up the Webchat
Pre-configured Script
Shareable URL
You can share your chatbot with people that would like to quickly test your chatbot using the Shareable Link.
Embedded Script
This script will add the webchat to your website. You can copy the script and paste it in the <body></body> tag of your HTML page.
This is the recommended way of adding the webchat to your website.
Configurable Script
The configurable webchat code must be updated manually every time there is a change. We highly recommend using the Pre-configured version.
Copy the code from the Configurable tab and paste it in the <body></body> tag of your HTML page.
Configurable Script Parameters
You can customize the webchat by changing/adding the values of the parameters in the script.
| Parameter | Description | Default value | parameter type |
|---|---|---|---|
stylesheet | Provide a path to a stylesheet to customize the webchat | - | string |
showConversationsButton | If false, will hide the conversation list pane | true | boolean |
showTimestamp | If true, will display a timestamp under each messages | false | boolean |
enableTranscriptDownload | Allows the user to download the conversation history | true | boolean |
enableConversationDeletion | Allows the user to delete its conversation history | false | boolean |
closeOnEscape | Close the webchat when pressing the Esc key | true | boolean |
botName | Displays the bot name to the right of its avatar | - | string |
composerPlaceholder | Allows to set a custom composer placeholder | 'Reply to {botname}' | string |
avatarUrl | Allow to specify a custom URL for the bot's avatar | - | string |
locale | Force the display language of the webchat (en, fr, ar, ru, etc..) Defaults to the user's browser language if not set Set to 'browser' to force use the browser's language | 'browser' | string |
botConversationDescription | Small description written under the bot's name | - | string |
hideWidget | When true, the widget button to open the chat is hidden | false | boolean |
disableAnimations | Disable the slide in / out animations of the webchat | false | boolean |
useSessionStorage | Use sessionStorage instead of localStorage, which means the session expires when tab is closed | false | boolean |
containerWidth | Sends an event to the parent container with the width provided | 360 | string OR number |
layoutWidth | Sets the width of the webchat | 360 | string OR number |
enablePersistHistory | When enabled, sent messages are persisted to local storage (recall previous messages) | true | boolean |
className | CSS class to be applied to iframe | - | string |
disableNotificationSound | If true, chat will no longer play the notification sound for new messages. | false | boolean |
googleMapsAPIKey | Google Maps API Key required to display the map. It will display a link to Google Maps otherwise. | - | string |
website | Displays the bot's website in the conversation page | - | string |
phoneNumber | Displays the bot's contact phone number in the conversation page | - | string |
termsConditions | Displays the bot's terms of service in the conversation page | - | string |
privacyPolicy | Displays the bot's privacy policy in the conversation page | - | string |
emailAddress | Displays the bot's email address in the conversation page. | - | string |
coverPictureUrl | Displays the bot's cover picture in the conversation page | - | string |
showBotInfoPage | Enables the bot's information page in the webchat | false | boolean |
showCloseButton | Display's the webchat close button when the webchat is opened | true | boolean |
userData | Passes the user data to the bot | - | object |
customUser | Passes the custom user data to the bot | - | object |
Domain Whitelisting
Team Plan
This feature is only available to Team plan subscribers.
The domain whitelisting feature ensures that only approved domains can host and utilize the chatbot. This enhances security and control, ensuring that your chatbot is only available on trusted websites.
Configuring Allowed Origins
- Navigate to the Webchat integration settings on your Dashboard
- Expand the 'Advanced Settings' menu
- To add a domain (or an allowed origin), type the domain name in the provided field. You can provide multiple allowed origins or whitelisted domains.
Make sure to save the configuration after you've indicated which domains you want to whitelist.
Customizing/Controlling the Webchat
For more information on customizing the webchat, please refer to the Webchat developer documentation.
Updated 4 days ago