Microsoft Teams

Prerequisites
Setting up the Microsoft Teams integration in Botpress
- Go to the Integration Hub in Botpress Cloud (if you don't have the integration installed yet).
- Find and open the Microsoft Teams integration then click on the "Install to Bot" button, now go back to your bot settings.
The Microsoft Teams integration has the following settings:
- Enabled: Whether Botpress will communicate with Microsoft Teams
- Webhook URL: The URL for receiving data in Botpress.
- App Id: The App Id of your bot in Azure
- App Password: The App Secret of your bot in Azure
Setting up Microsoft Teams
Register App
- In the Azure portal, open the App registrations page
- Click New registration, then choose a name for your application
- In the section Supported account types, choose the type that's most appropriate for your use case. We support Single and Multi Tenant accounts. Check out this article to learn more (in short, Single Tenant means the app will be available for your org only, and Multi Tenant will make it public). After selecting, click Register
- Copy paste the value of
Application (client) IDto the App Id channel configuration in Botpress
App Password
- Find the Certificates & secrets page in the sidebar, click New client secret, then fill in the required fields
- Copy the value from the Value column and paste it in the App Secret channel configuration in Botpress
- Save the settings by clicking the "Save configuration" button
Create Your Microsoft Bot
- Navigate to the Bot Framework Creation page
- Fill the Display name and Bot handle fields with whatever value
- Copy paste you App Id to the app id field
- Copy the Webhook URL provided in Botpress to the Messaging endpoint field
- Choose a tenant for the App type. Follow the same type you chose in the Register App section
- Paste the App ID from the Azure bot in the Microsoft App ID field
- Read and agree to the terms then click Register
- On the next page (Connect to channels), under the section, Add a featured channel, click Configure Microsoft Teams Channel, then click Save
Accessing the Bot in MS Teams
- Navigate to the My Bots page
- Click on your bot's name
- Under the Connect to channels section, click on Microsoft Teams
- The bot should open in your MS Teams
That's it, you may now start chatting with your bot on Microsoft Teams!
The bot will only be available to you if you have a Microsoft 365 Business account and if you are logged in to MS Teams with that account.
Making the bot available in your Organization
-
Add the Developer Portal App to your Teams (or do it via the website)
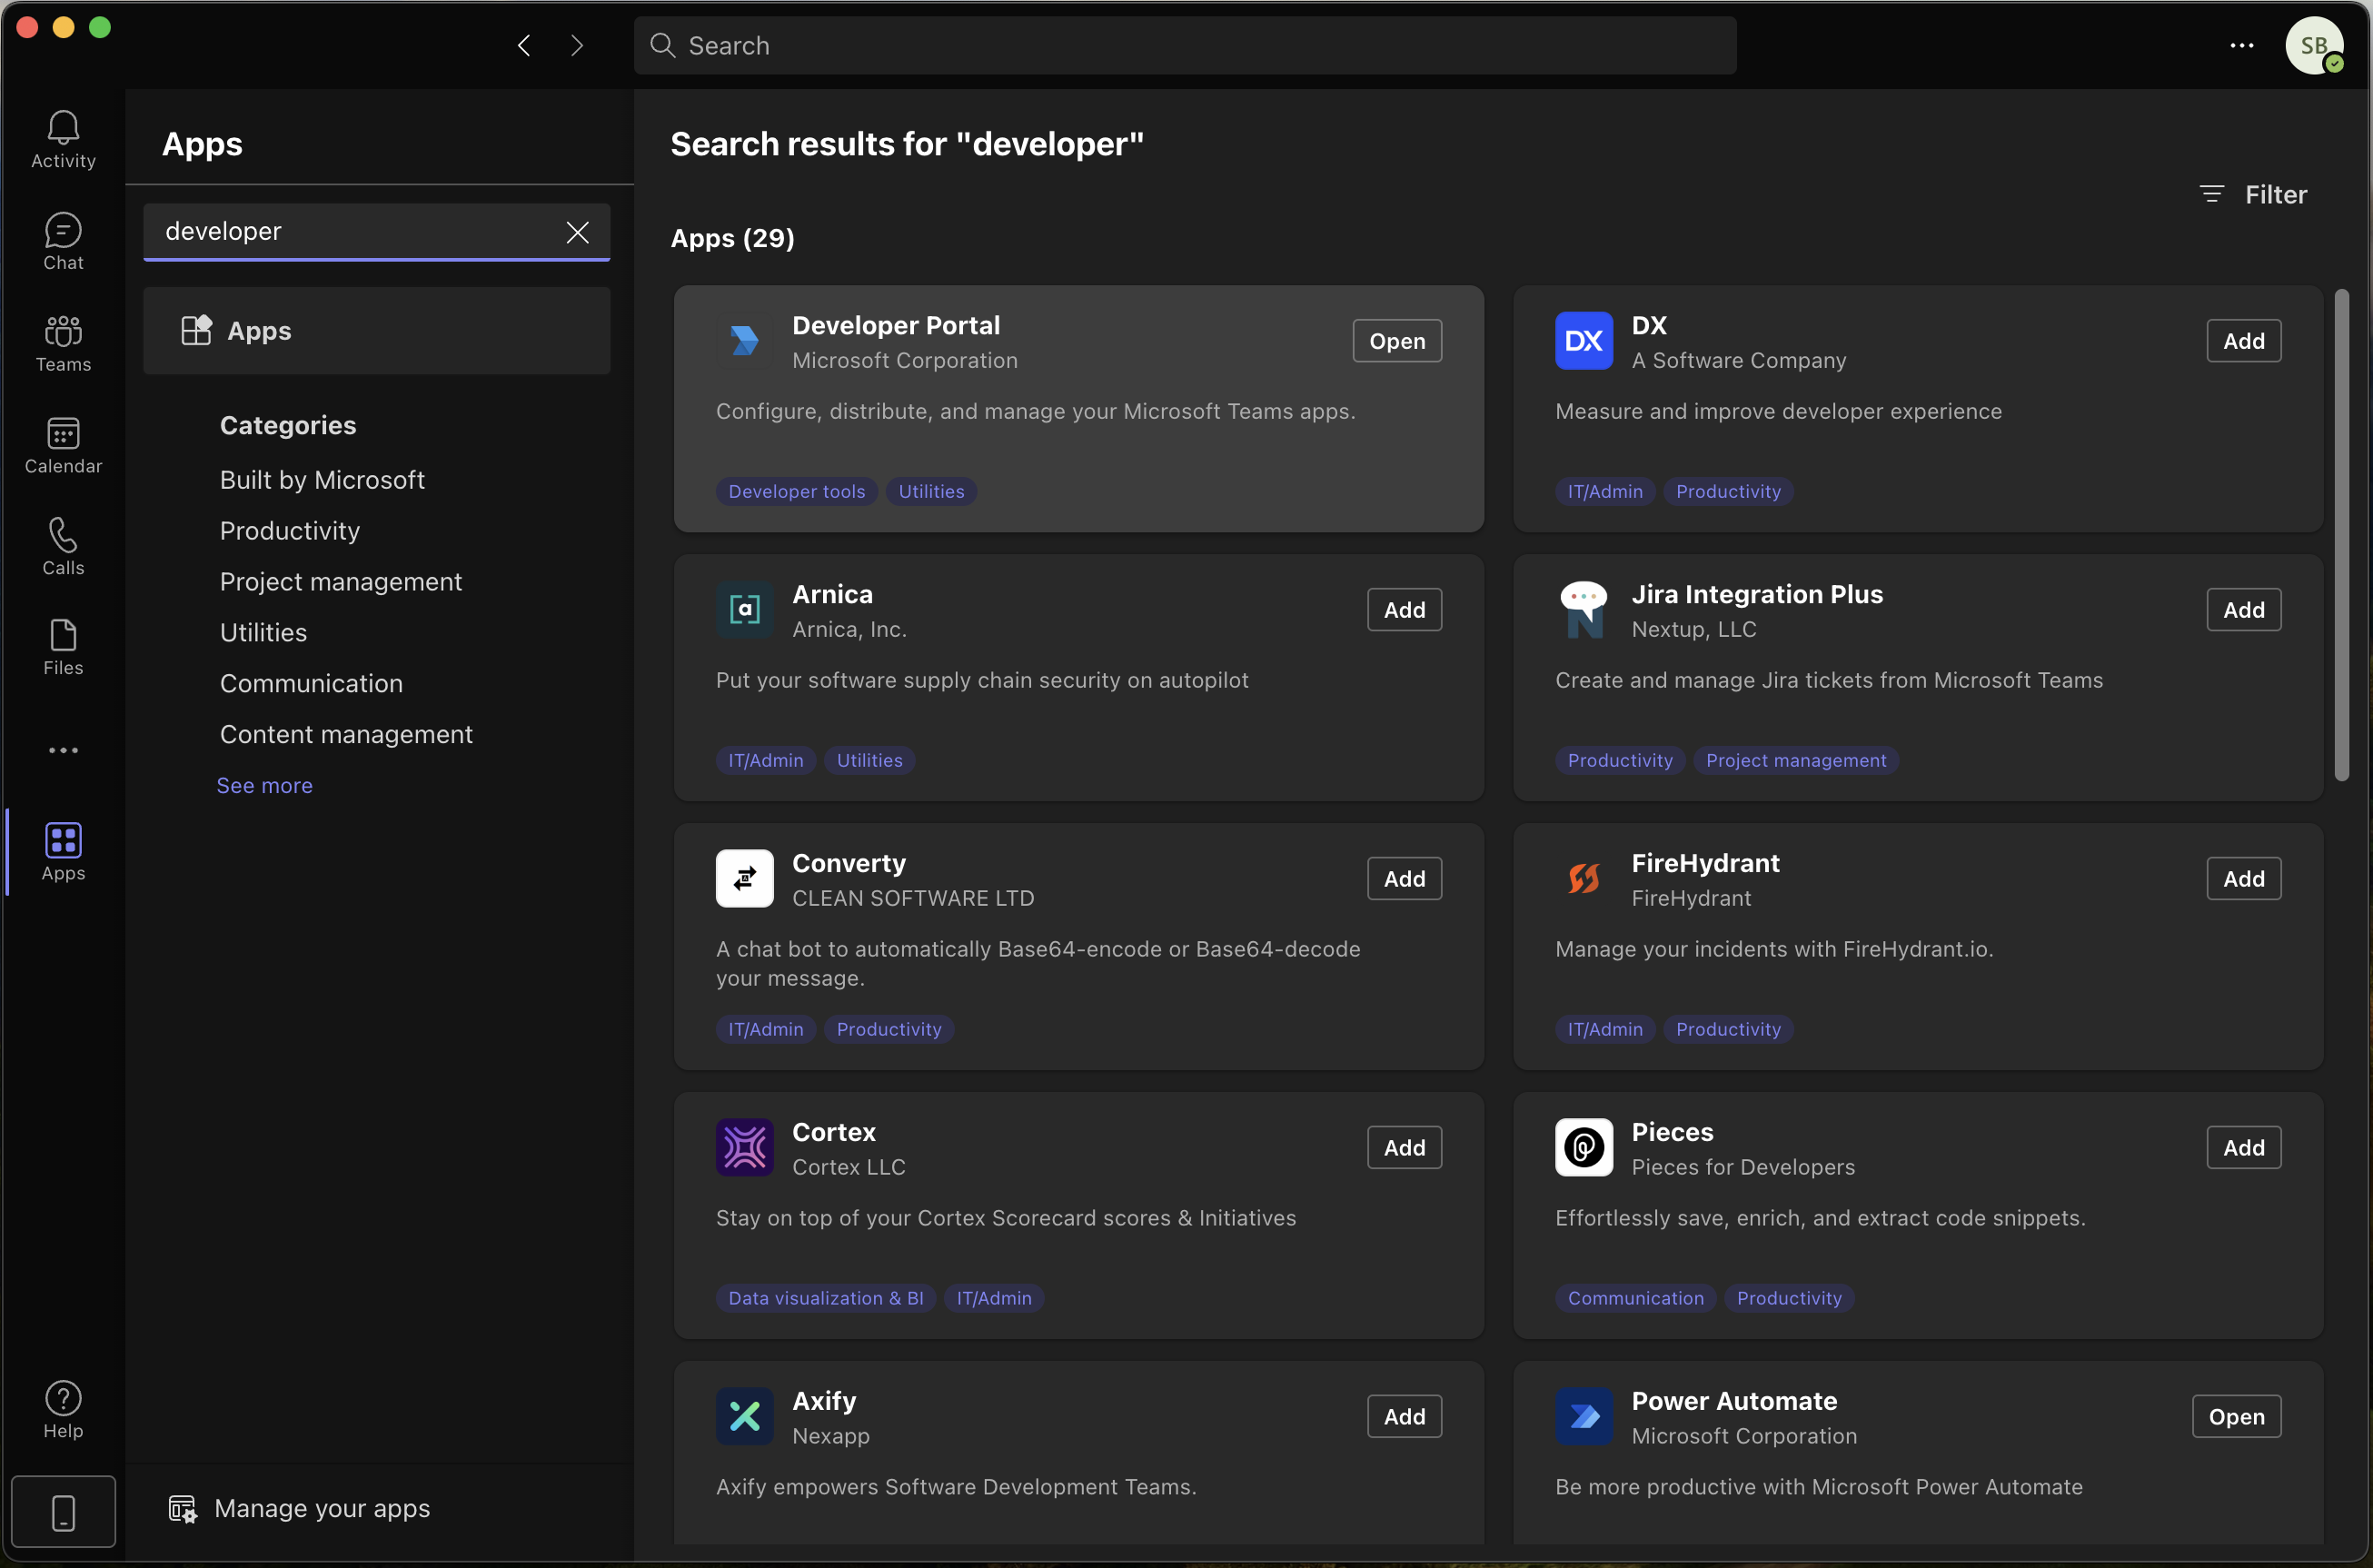
-
Click the Developer Portal App tab in the sidebar, then Apps. Now click the New app button
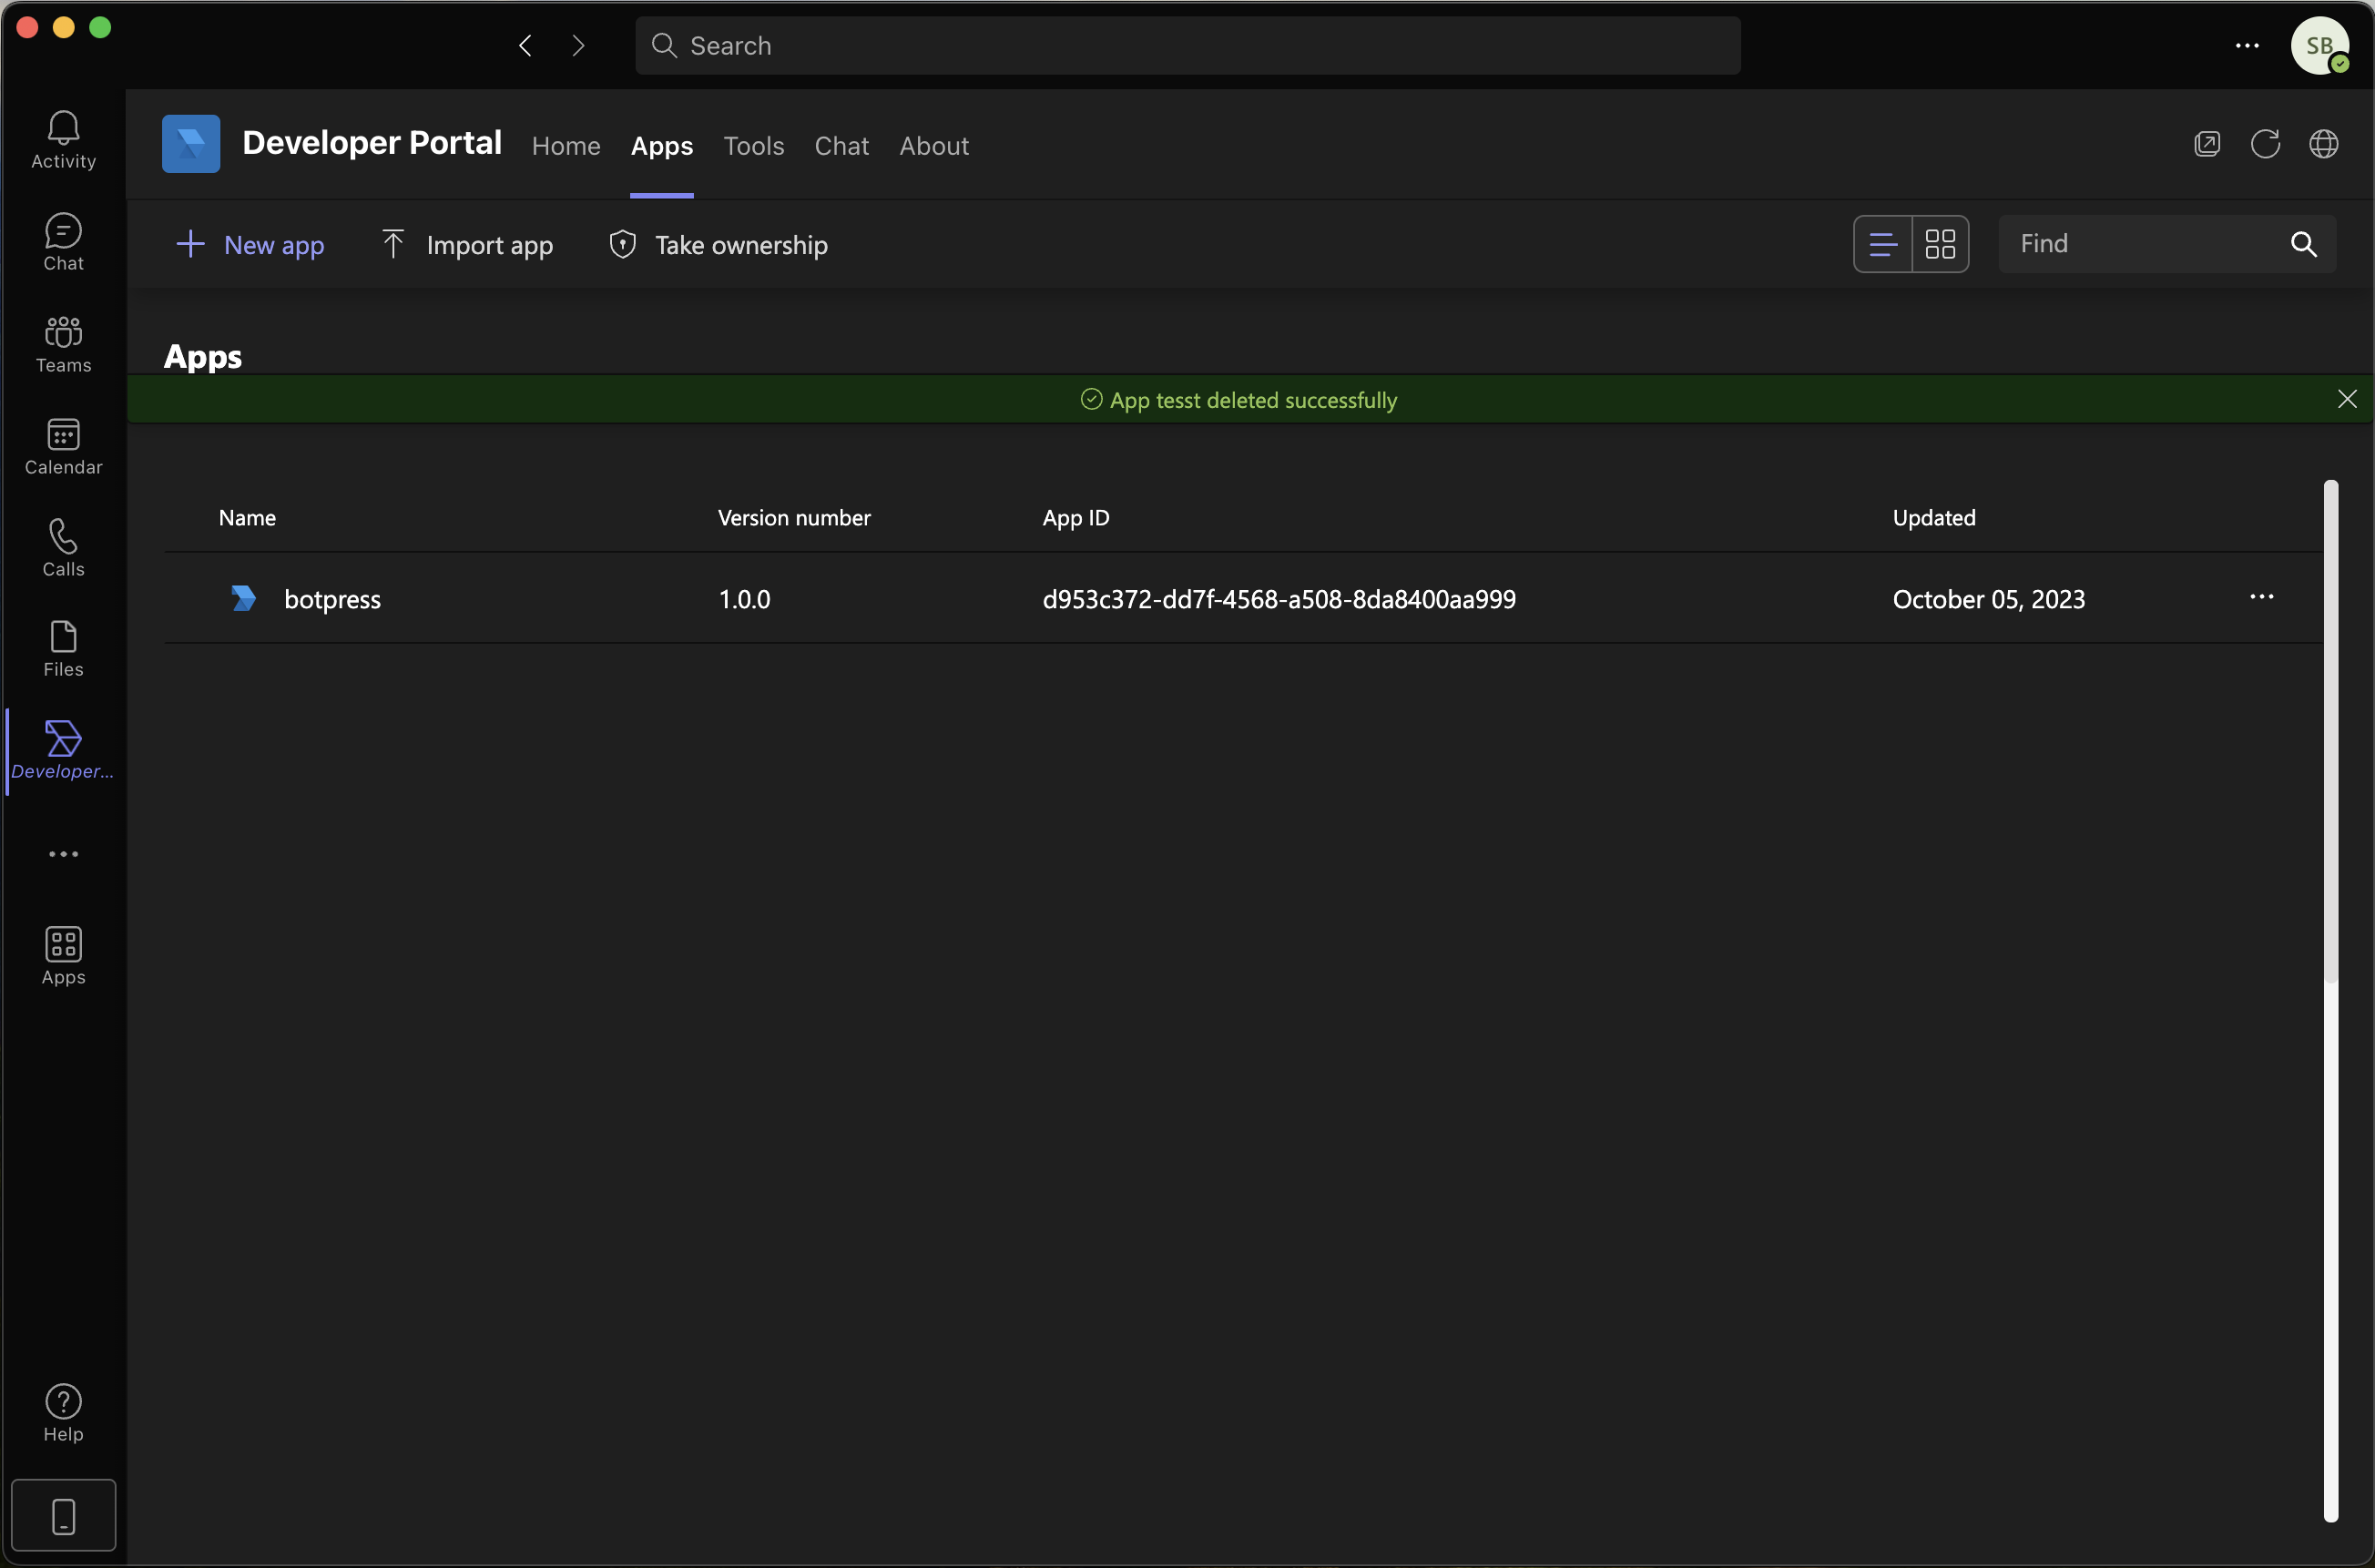
-
In the left-side menu of the App, go to the App Features page under the Configure section then click "Bot"
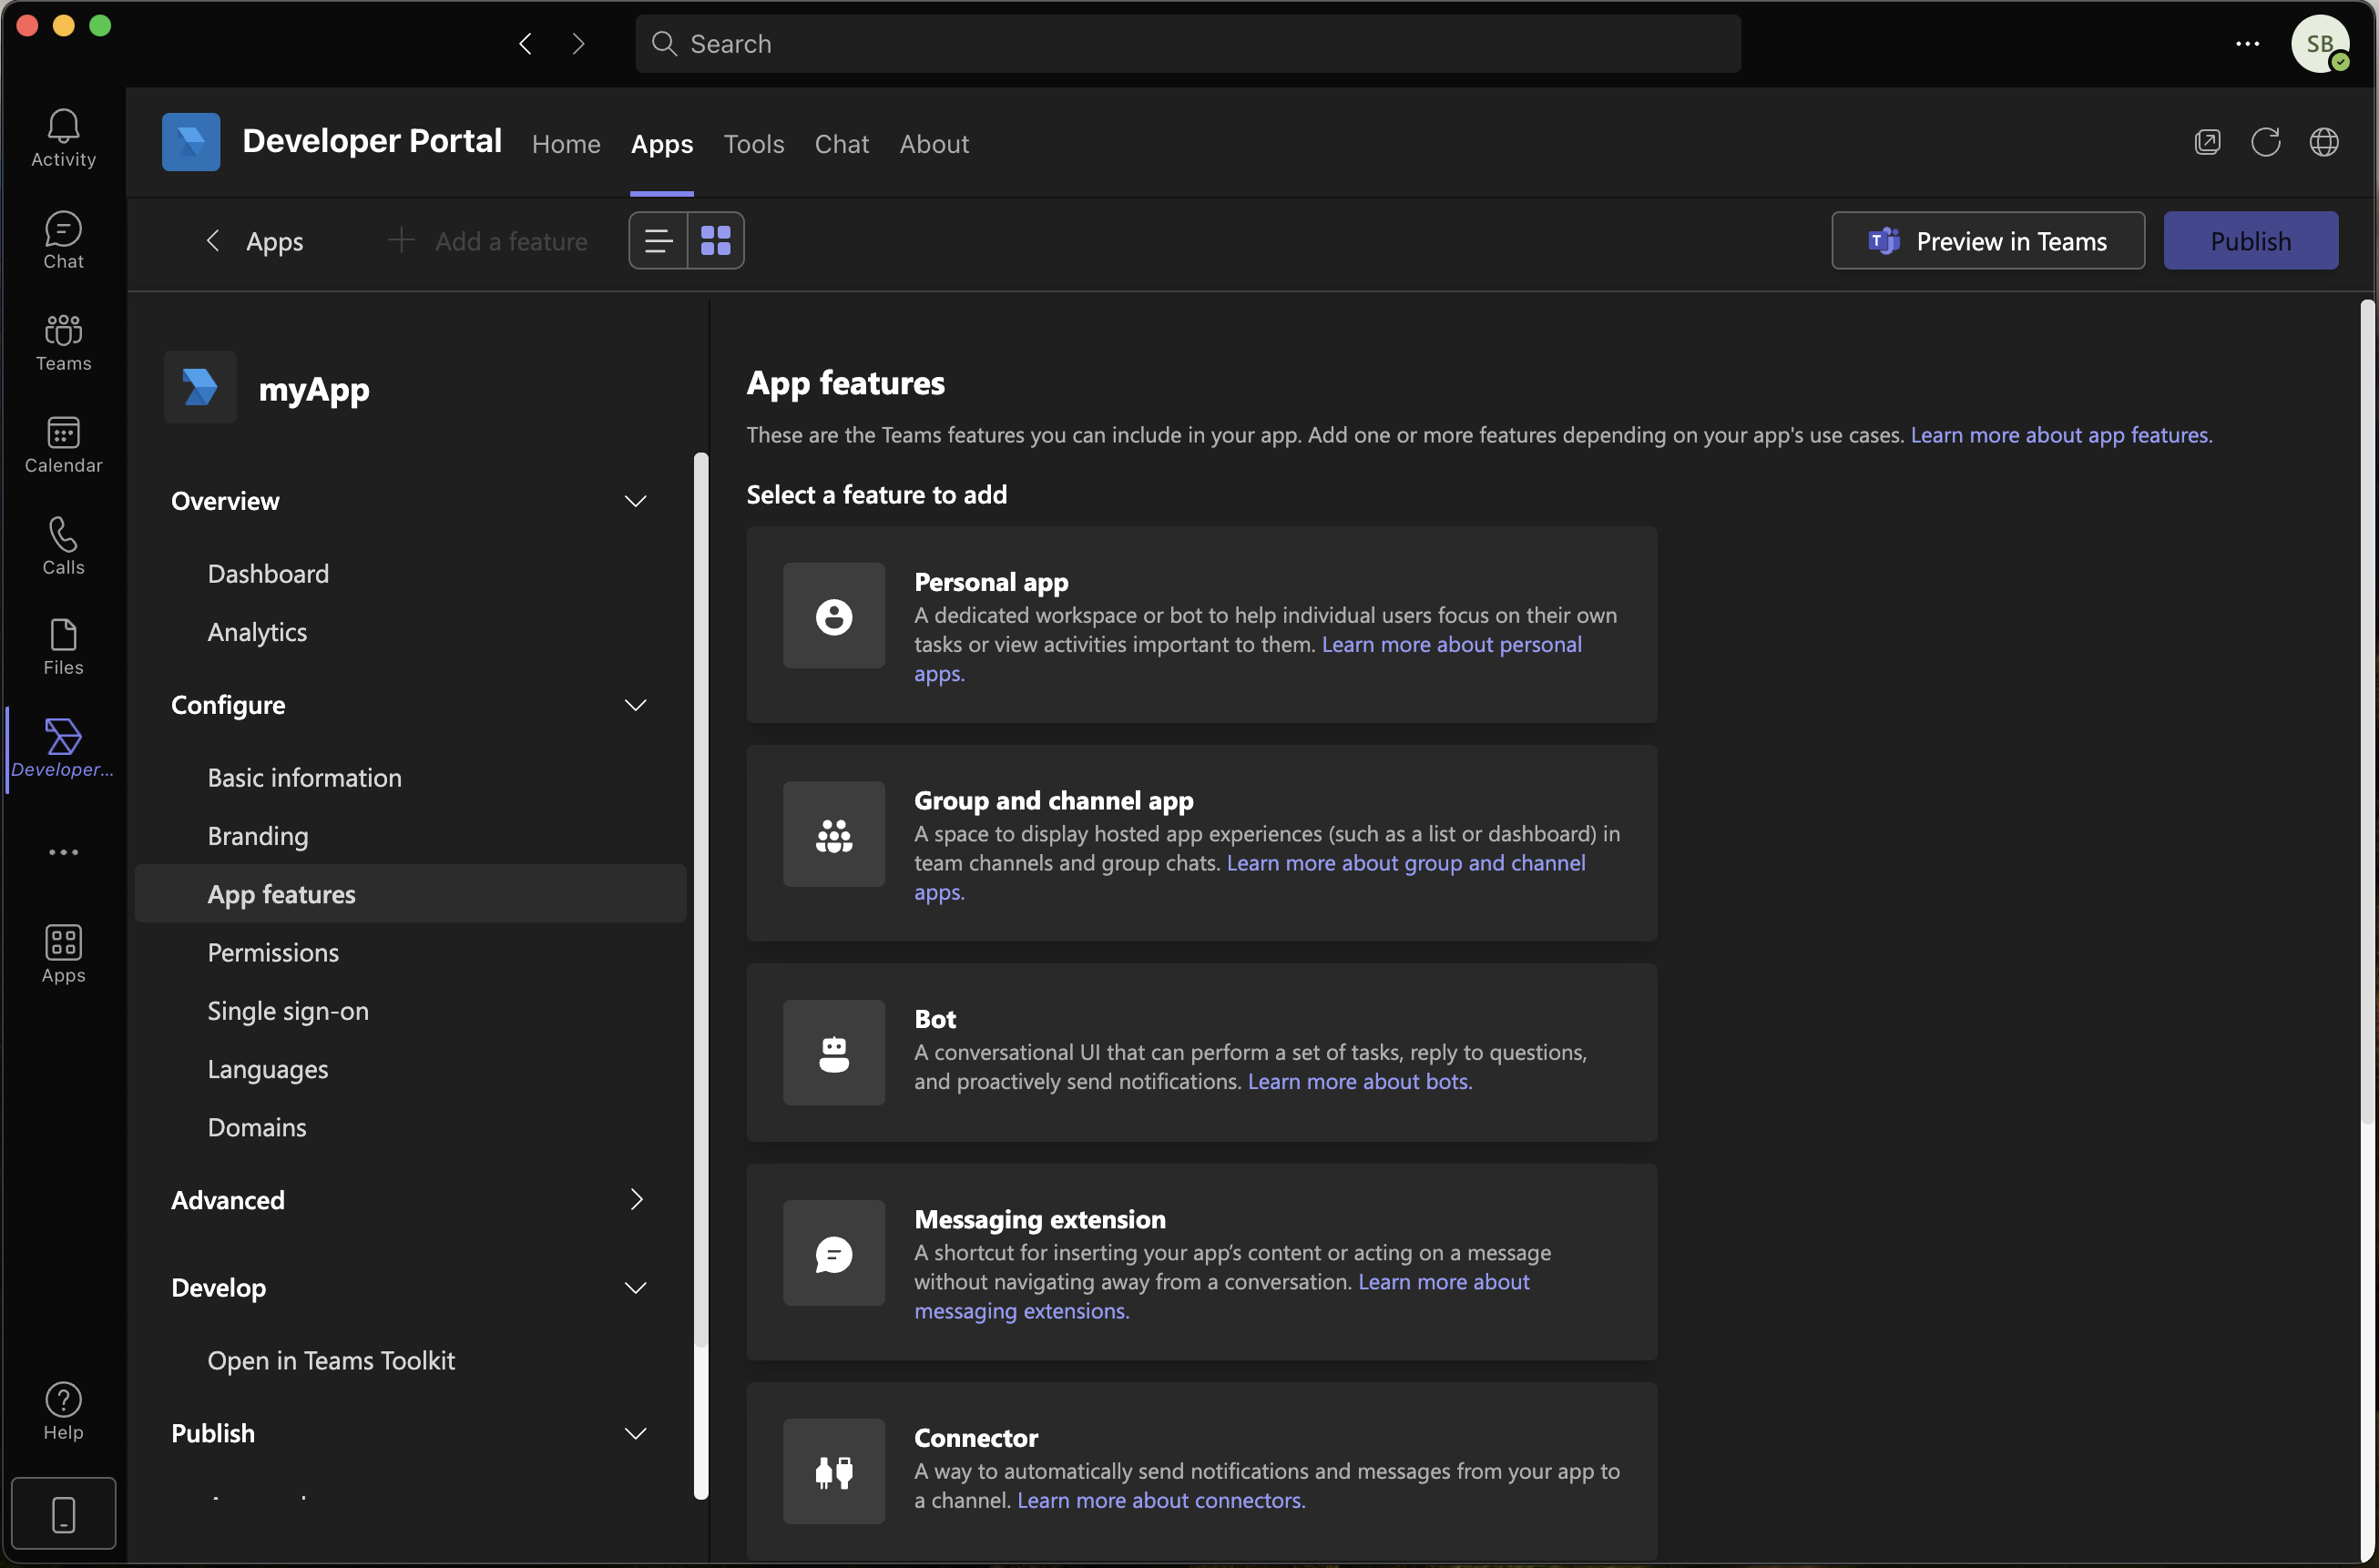
-
Select your existing bot from BotFramework in the dropdown. Check the desired scopes (at least Personal for 1:1 conversations)
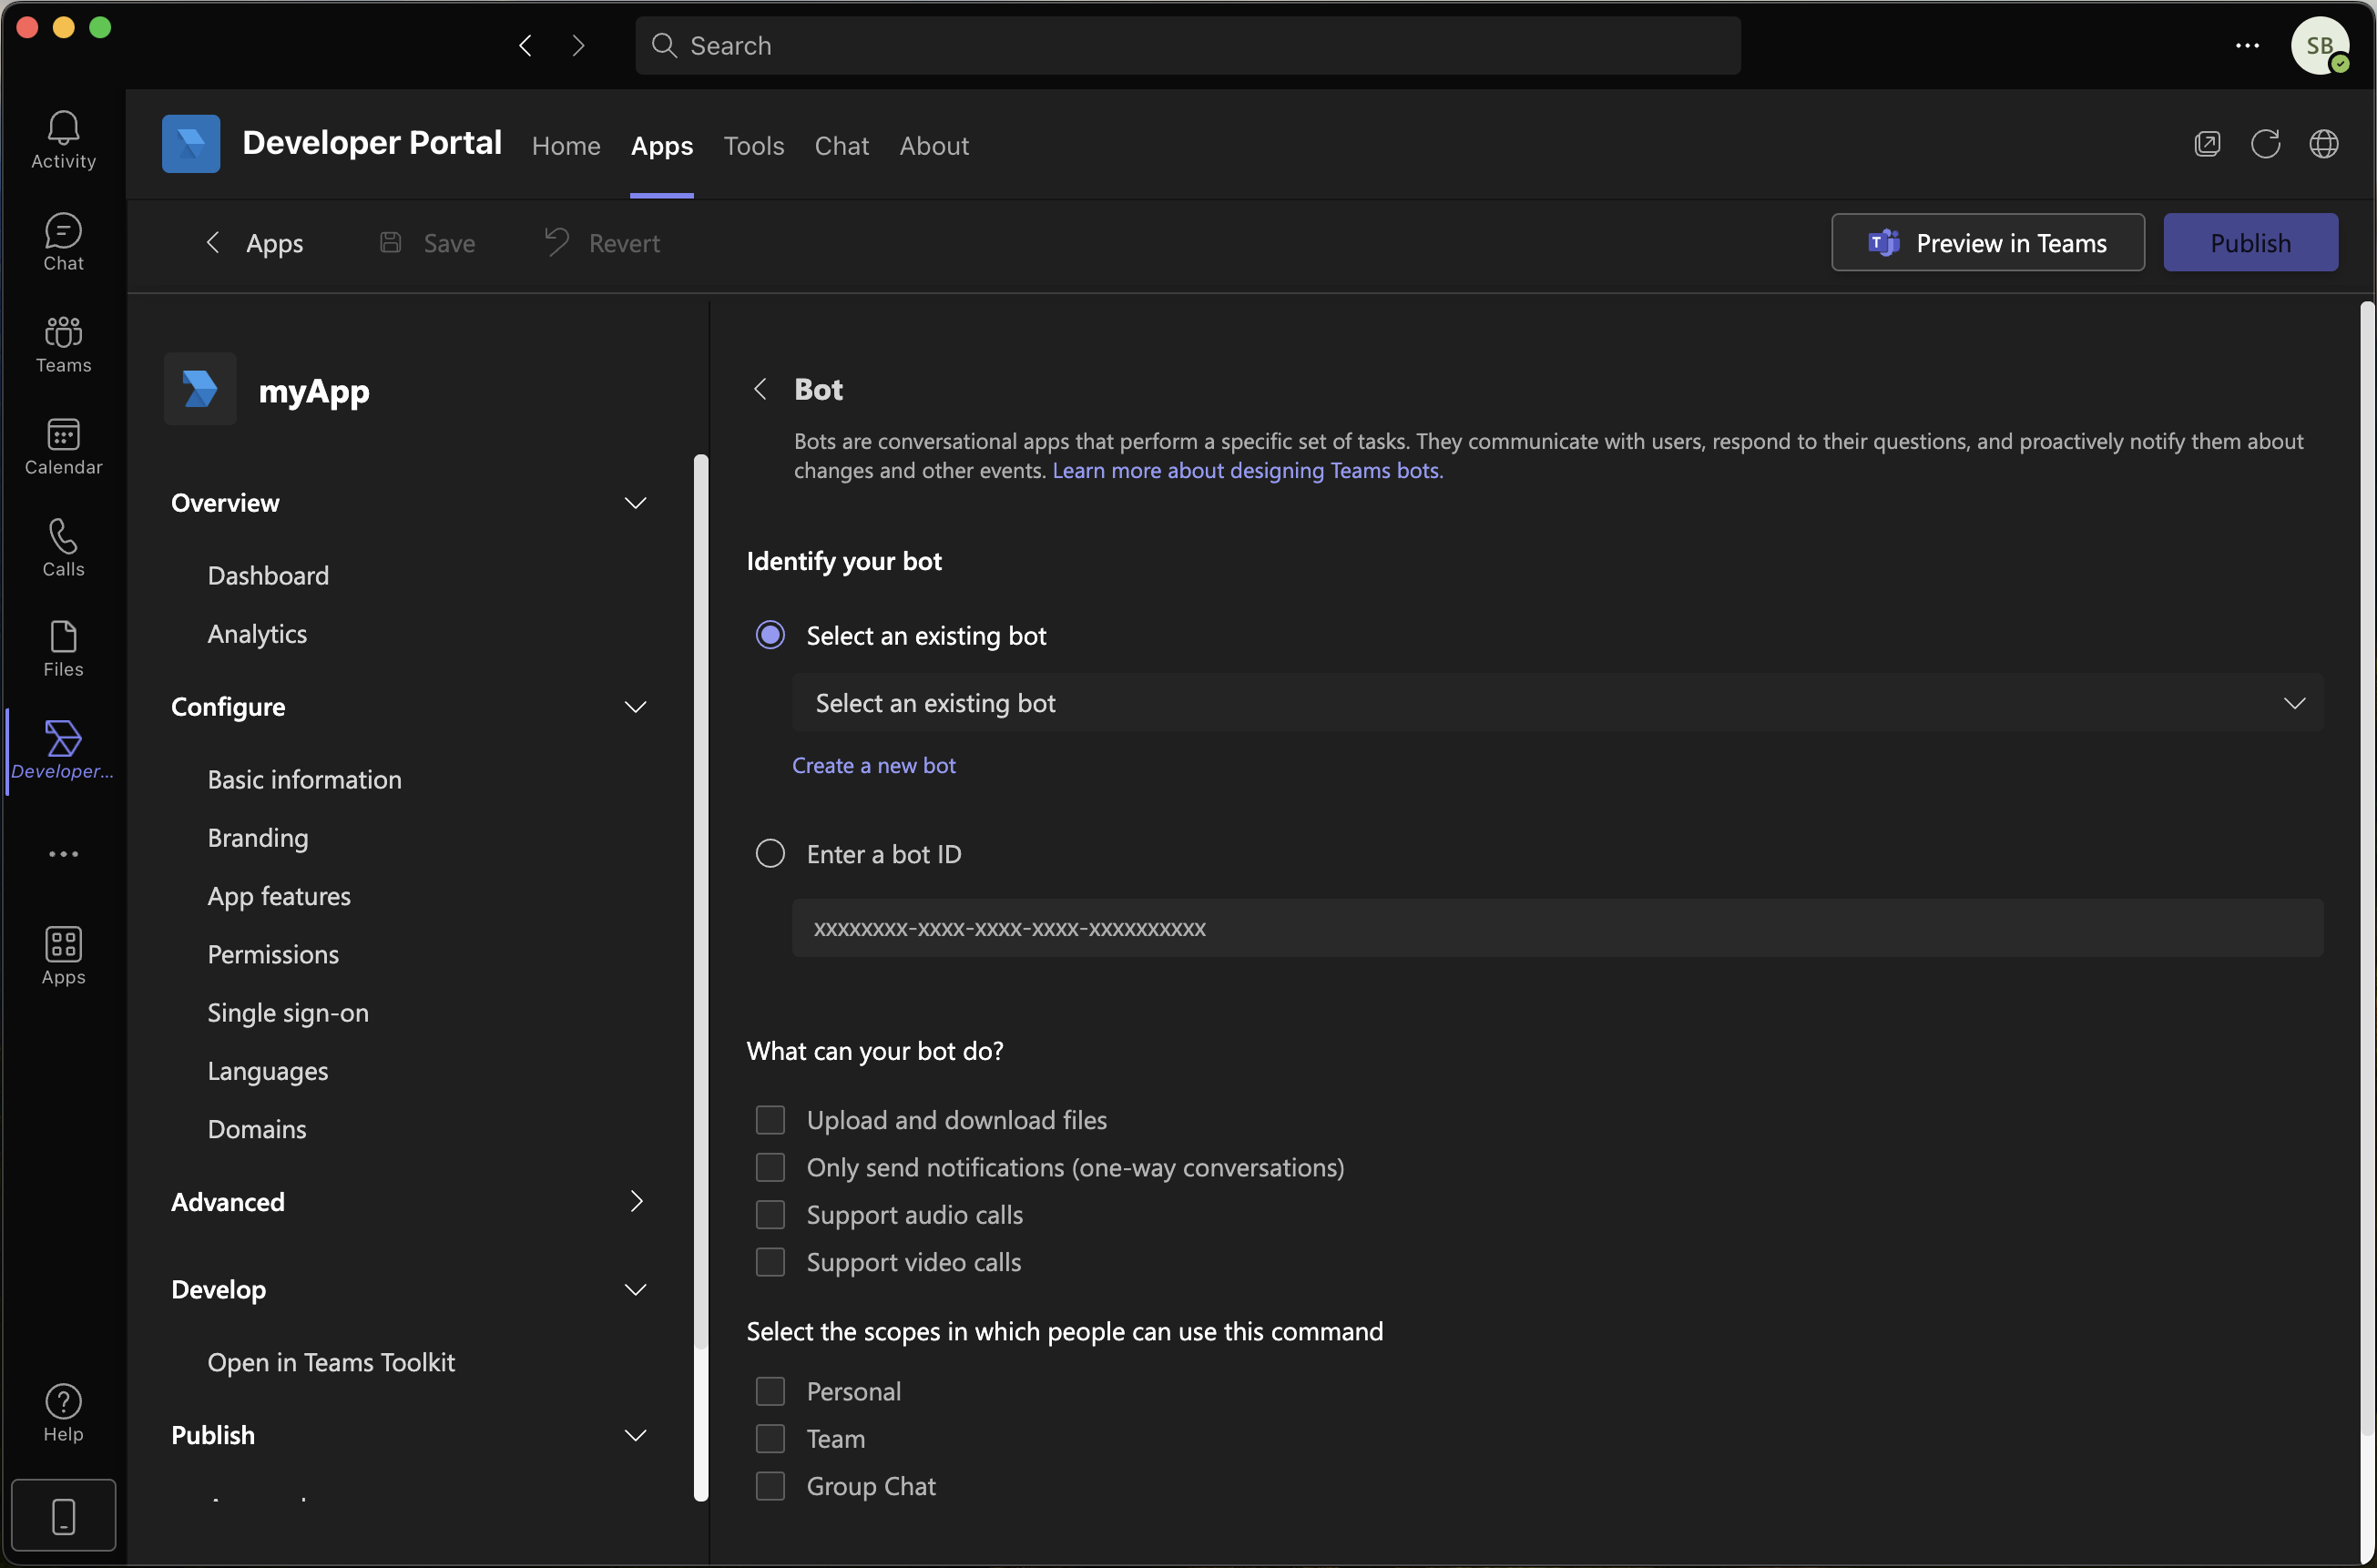
-
Fill out all the required fields in the Basic Information page of the Configure section
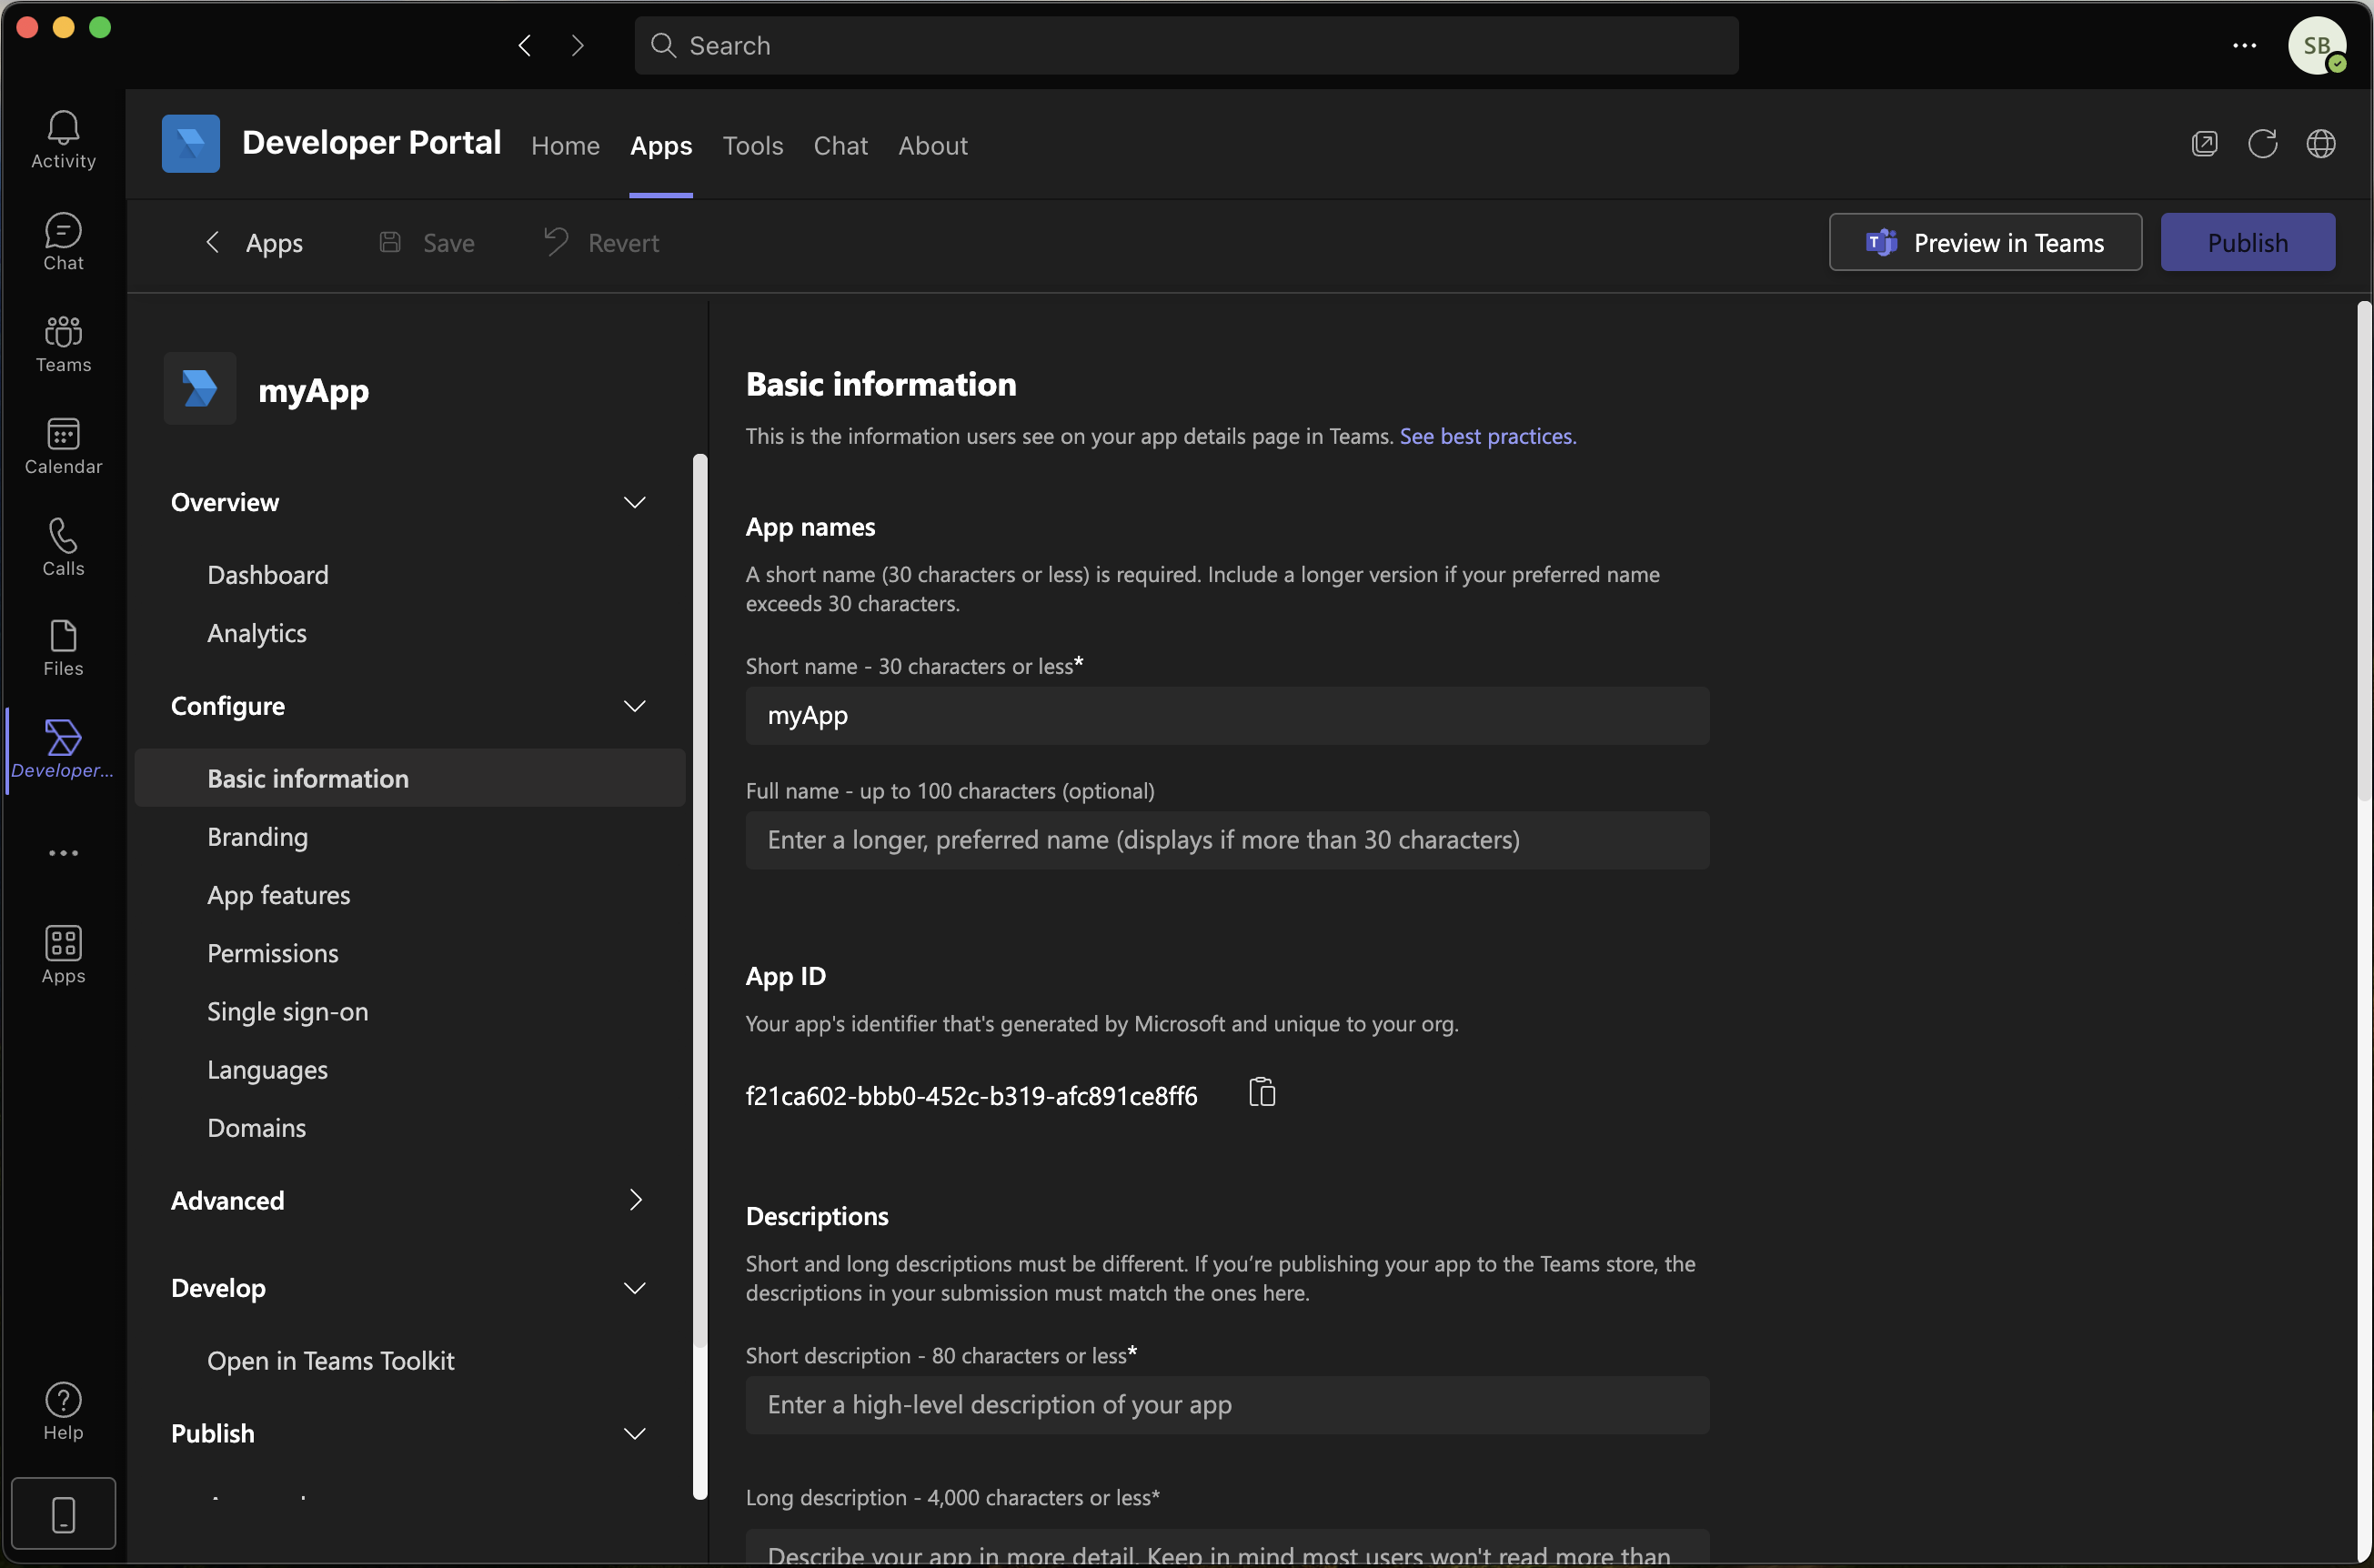
-
Click Publish, then Publish to your Org
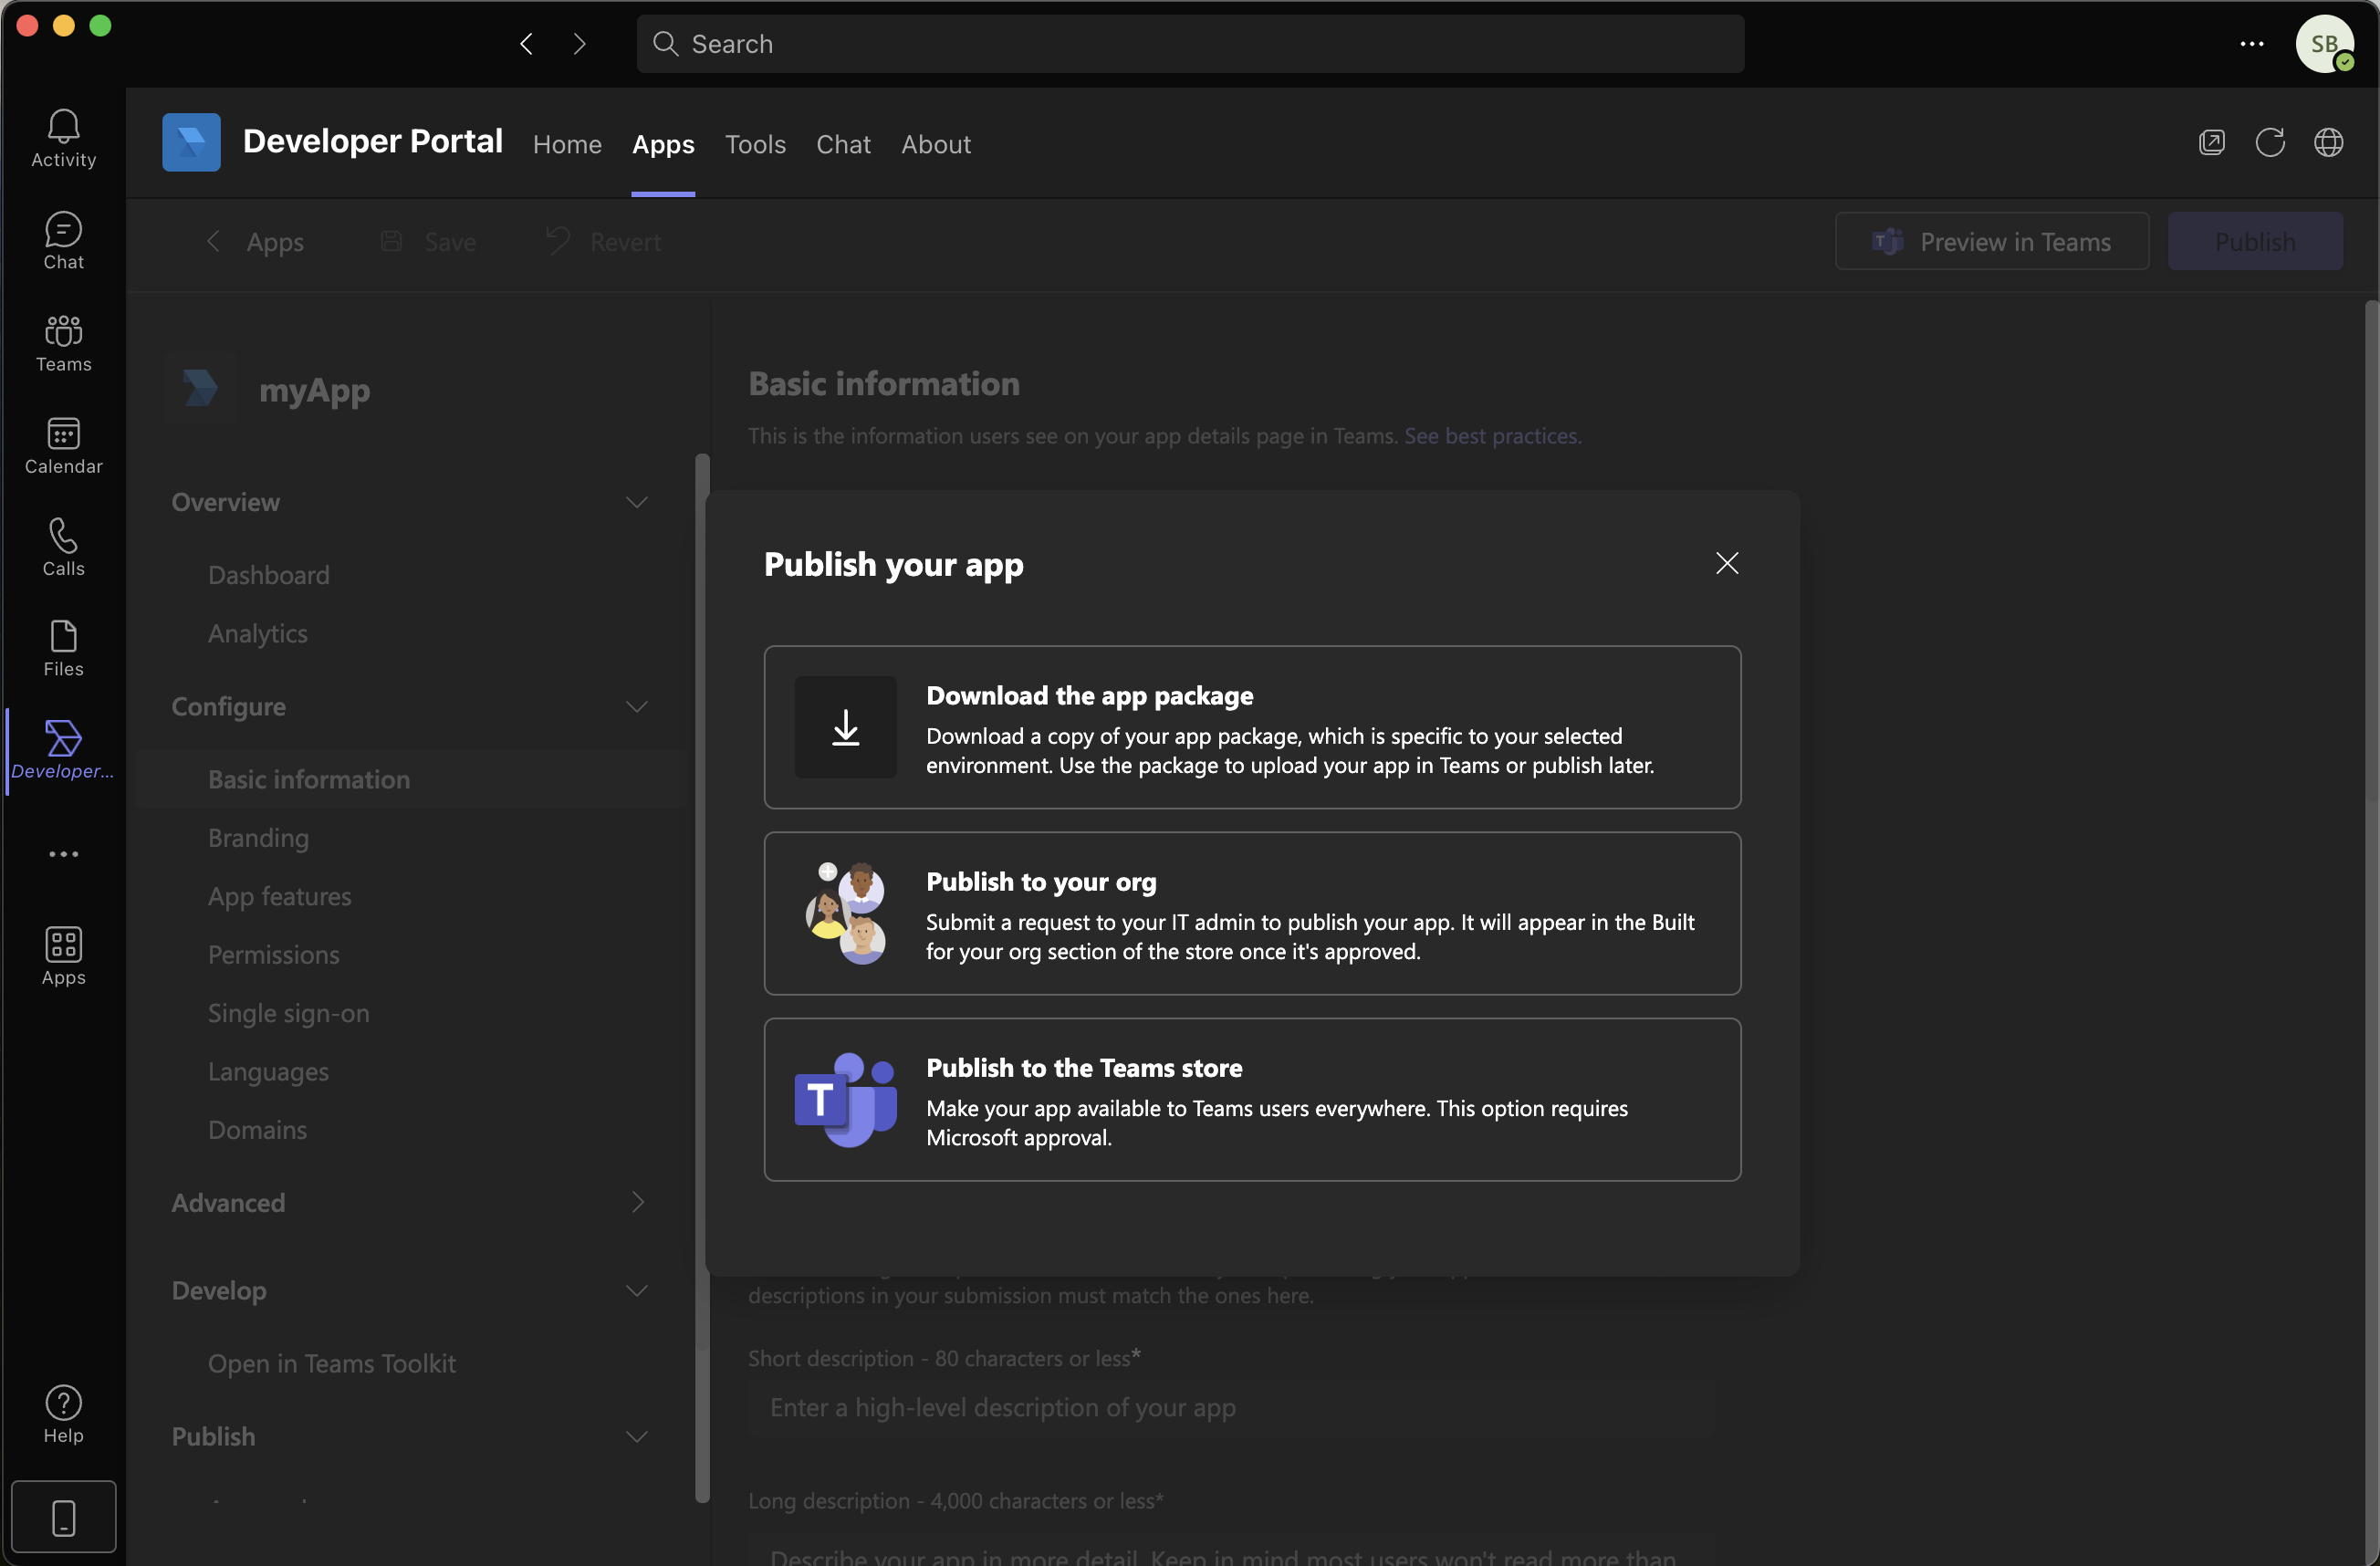
-
Go to your Team App store, search for your app, then add it
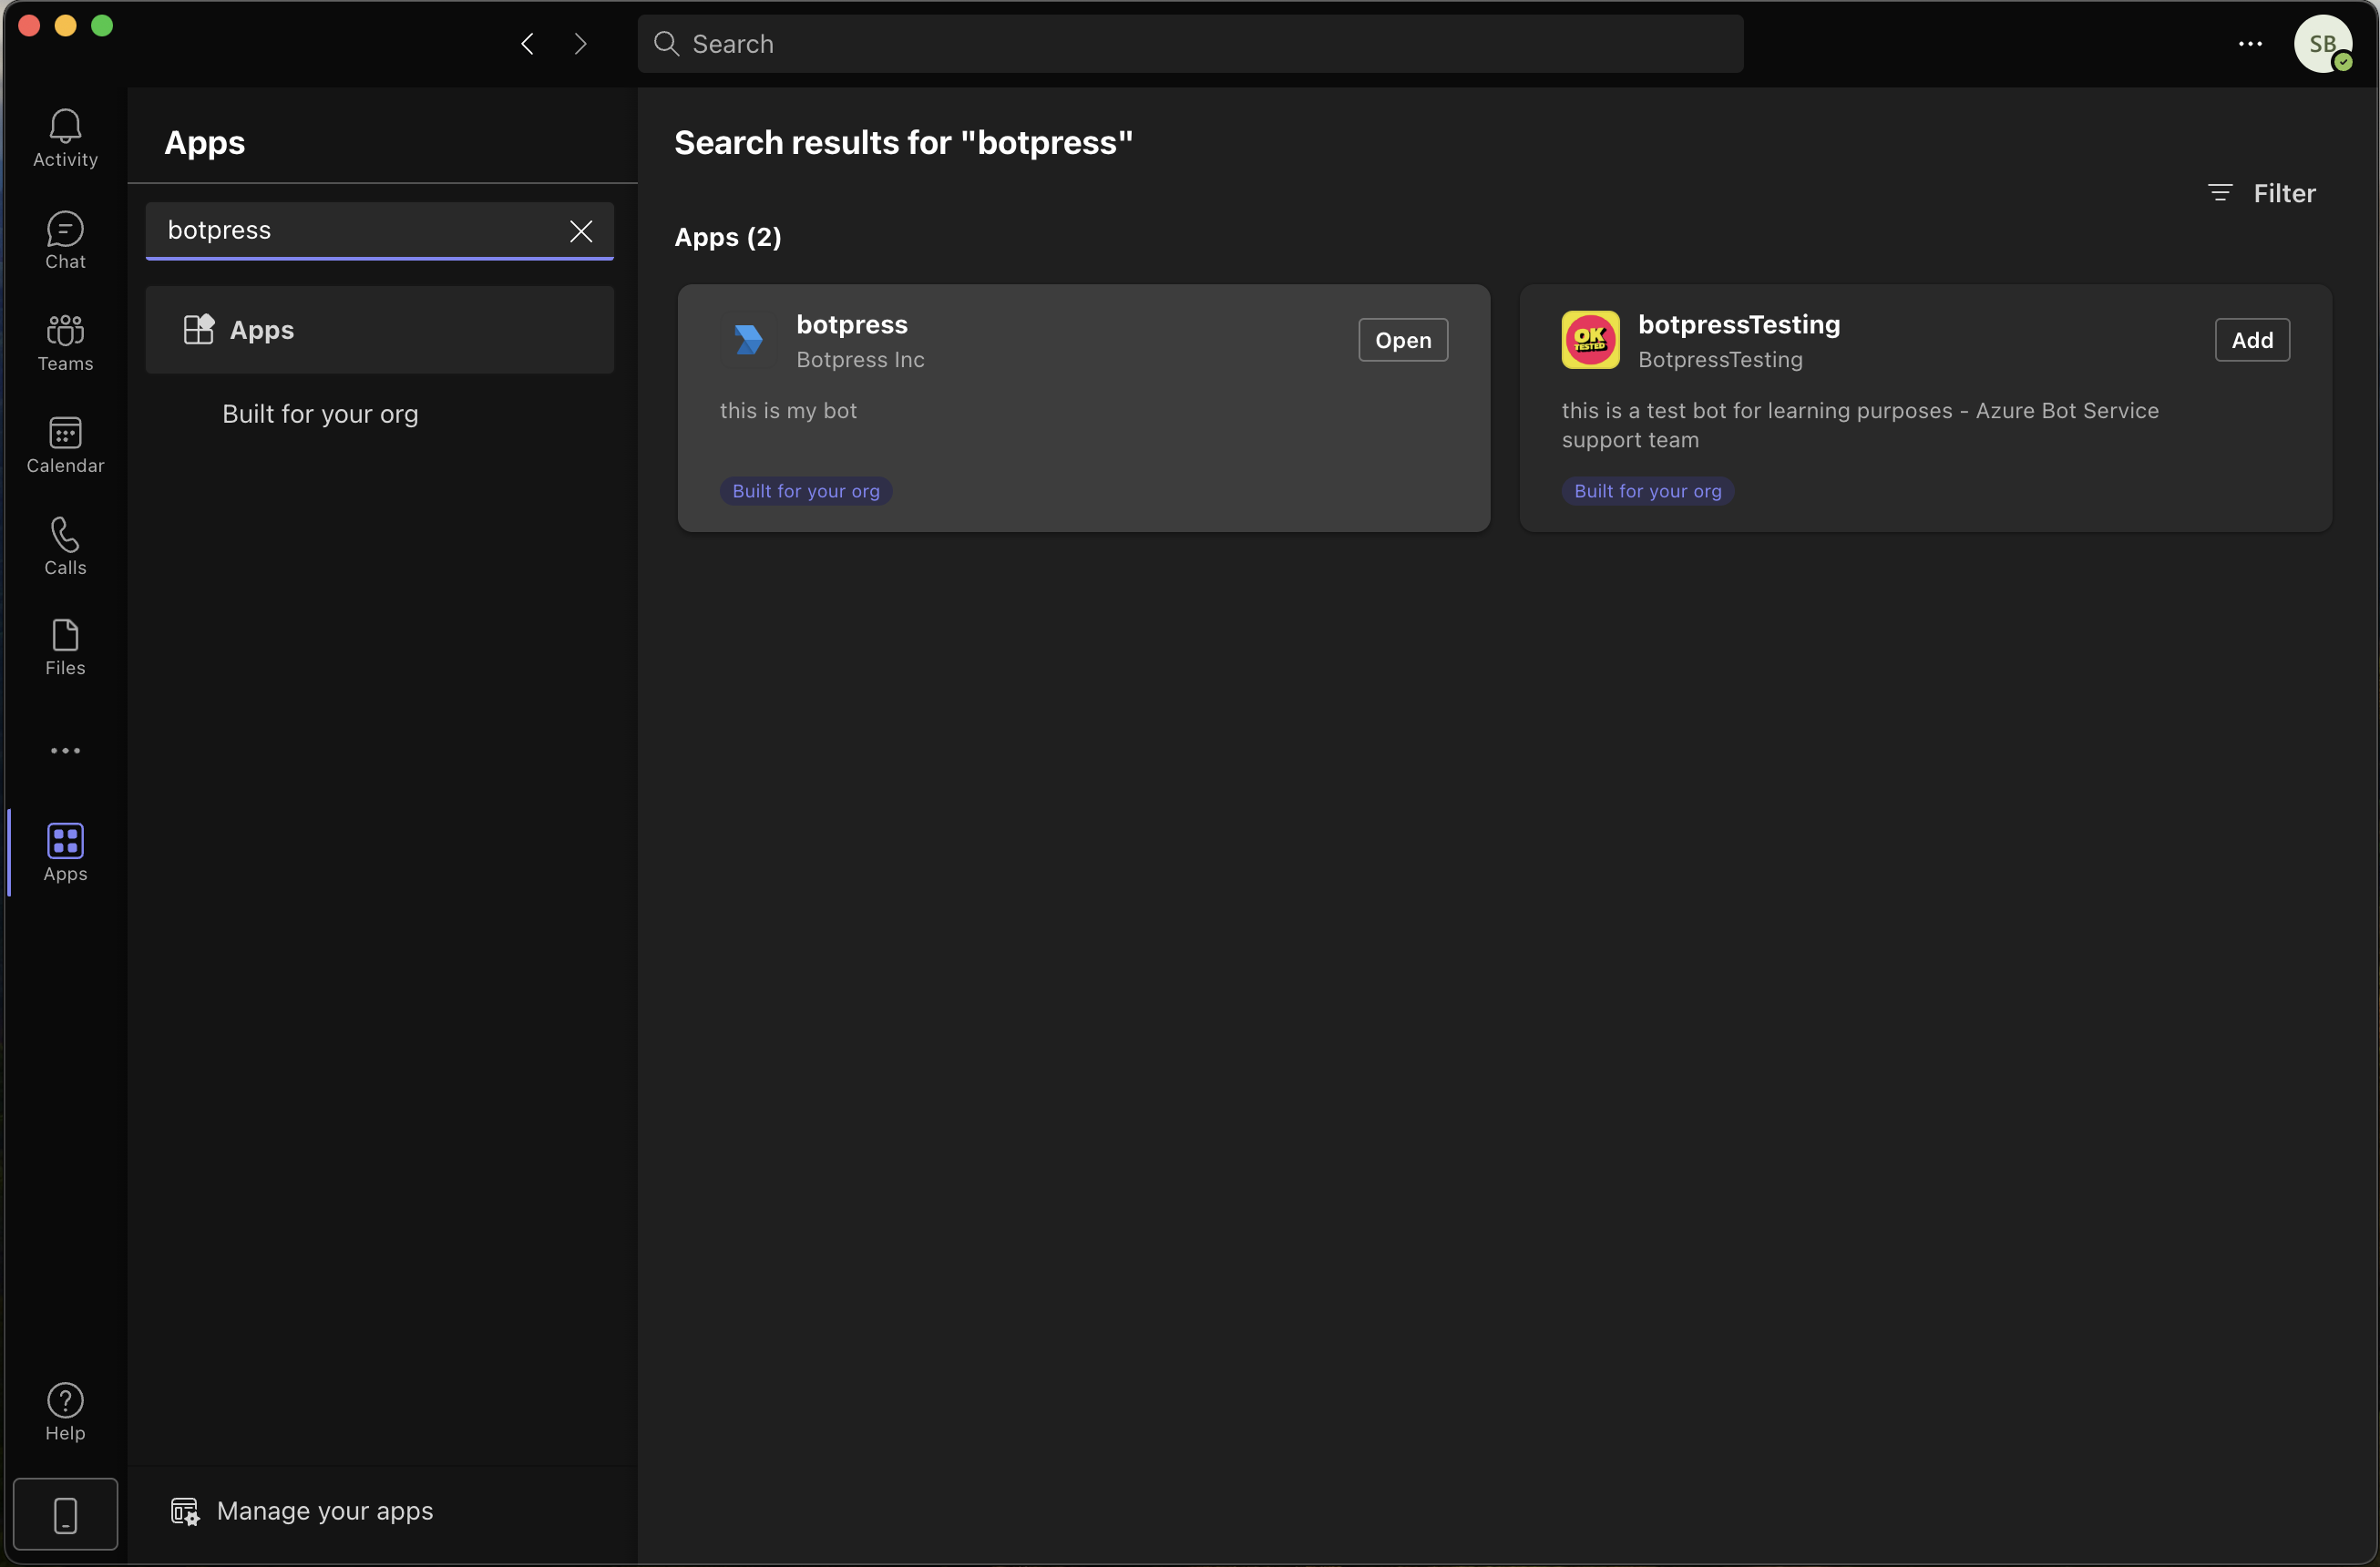
-
The bot is now available in the App section to all members of your organization!
Info
In order to update your bot's behavior, just Publish the new version in Botpress. The changes will then be reflected in MS Teams, there's no need to change any settings in the Microsoft apps.
Note
Botpress verifies the signature of the requests coming to the Webhook URL so that only Microsoft Teams can send data to your bot. Requests made from Postman or any other means will be rejected.
Setting up policies
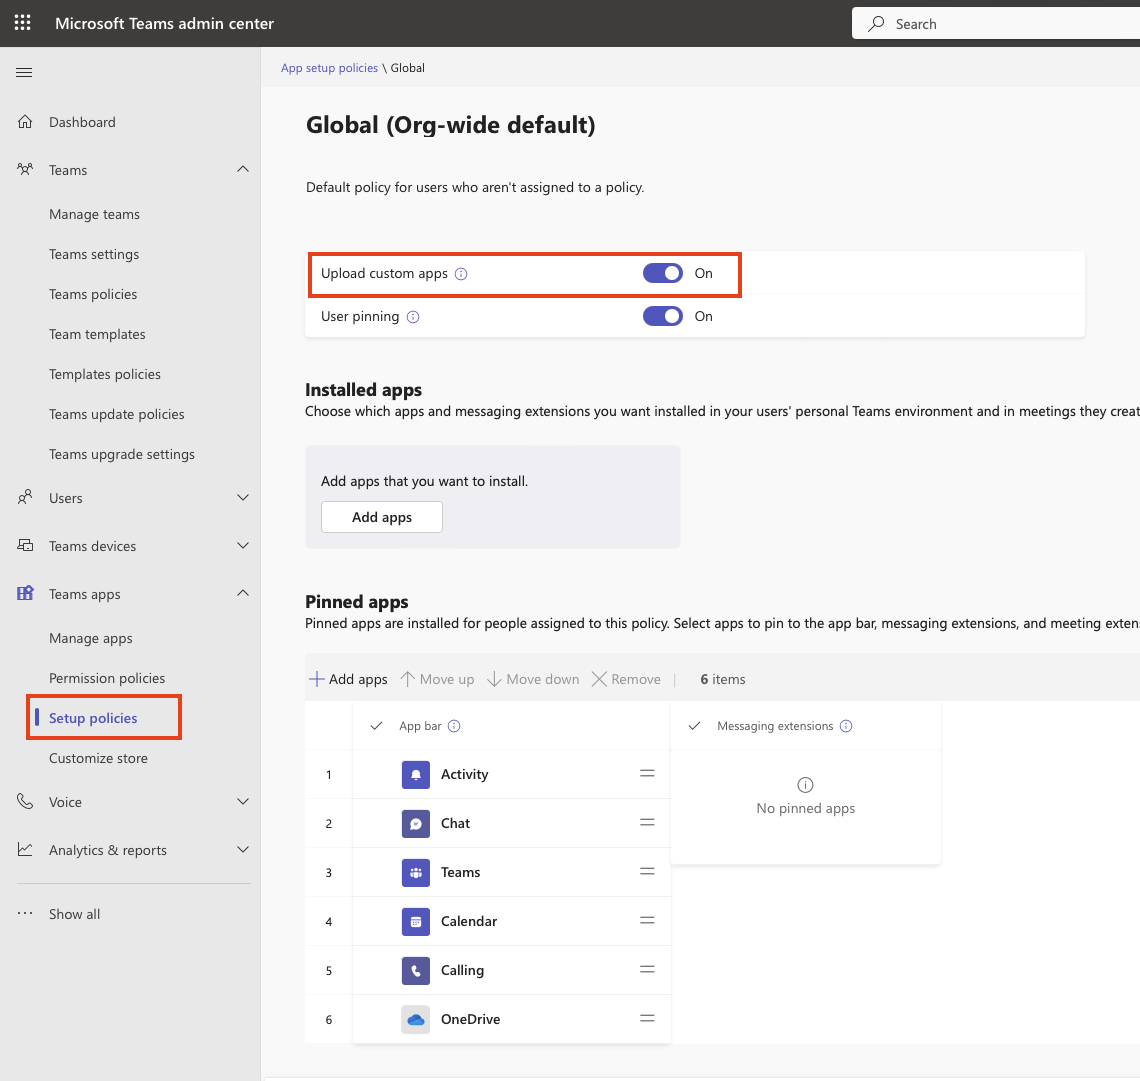
If you're unable to send message to the bot (App), make sure you've enabled the policy to upload custom apps.
Go to Setup Policies -> Turn on Upload custom apps
Updated about 2 months ago
