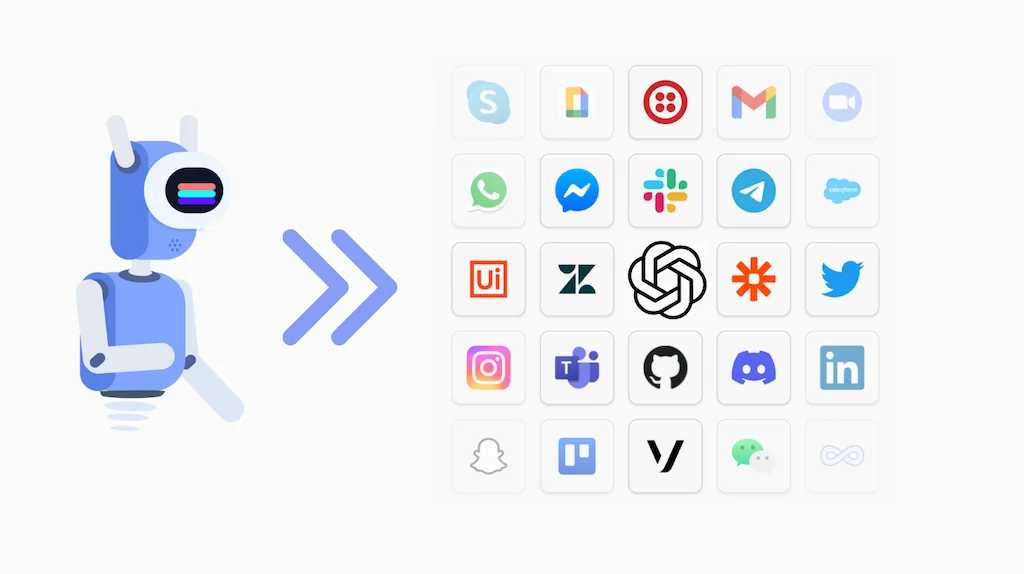
Deploying a Custom OpenAI Assistant on a Website or Messaging Channel
Integrating a custom GPT chatbot into your website or messaging channel is simple with the OpenAI Assistants API and Botpress. This comprehensive guide is your key to unlocking the power of AI chatbots, transforming how you interact with your audience. Whether you're aiming to boost customer engagement, automate responses, or simply innovate your digital strategy, deploying a GPT chatbot can be a game-changer. With our step-by-step tutorial, you'll learn how to seamlessly integrate a GPT (Generative Pre-trained Transformer) model into your digital platforms without the need for extensive coding skills.
The tutorial begins with the fundamentals, guiding you through the process of creating your own OpenAI Assistant. This foundational step sets the stage for a smooth integration with Botpress, a conversational AI platform. Following this, you'll explore how to download and utilize a specialized Botpress template, specifically designed to streamline the connection between your chatbot and the assistant. The beauty of this approach lies in its simplicity and efficiency, eliminating the traditional complexities associated with coding and AI integration. By the end of this tutorial, you'll be equipped to share or deploy your GPT-enabled chatbot on various platforms, including websites and popular messaging channels like WhatsApp or Facebook Messenger.
Step 1: Create Your OpenAI Assistant
1. Use the OpenAI platform to create your assistant.
2. Once created, copy the assistant ID to your clipboard.
3. You'll also need to create an OpenAI API Key to reference later.
Step 2: Download the Botpress Template
1. Obtain the Botpress template for deploying a GPT from the Botpress Template Gallery. This template simplifies the process, eliminating the need for coding to connect your chatbot with the assistant.
Step 3: Import the Template into Botpress Studio
1. Go to the Botpress studio.
2. Import the template file you downloaded earlier using the import functionality in the Botpress studio.
3. Follow the on-screen instructions to publish your bot, ensuring the deployed version is the most recent one.
Step 4: Configure Your Bot
This is a one-time setup process.
1. Use the shareable link to interact with your bot.
2. Tell the bot which assistant to use by providing the copied Assistant ID.
3. Provide an API key. If you don't have one, follow the instructions provided by your bot to create it.
Step 5: Share or Deploy Your Assistant
1. Use the URL provided to share your GPT, or;
2. Deploy on personal or business websites, or messaging channels like WhatsApp or Facebook Messenger using Botpress.
This guide makes deploying a custom OpenAI Assistant chatbot accessible even to those without deep technical expertise. By leveraging the OpenAI Assistants API and Botpress, you can significantly enhance your digital presence, offering an advanced, AI-driven interaction experience on your website or preferred messaging channels. Whether your goal is to increase engagement, streamline customer service, or innovate your digital strategy, integrating a GPT chatbot is a strategic move that can yield substantial benefits. With this tutorial, you're well-equipped to navigate the setup process, from creating an OpenAI Assistant to configuring and deploying your chatbot, ensuring a smooth and successful integration into your digital ecosystem.
Share this on:
Build your own personalized AI chatbot for free
Get started building a personalized GPT bot with our intuitive drag & drop interface.
Get started – it's free! 🤖No credit card required
Stay up to date with the latest on AI chatbots


.svg)


.svg)


.webp)

.webp)


