Workflows, or Flows, are sequences of steps that your bot takes:
WorkflowWorkflow
Each Workflow represents a reusable, customizable section of your bot’s logic. You can use them to organize your bot’s behaviour. For example, you might want to:
  • Greet users and offer assistance
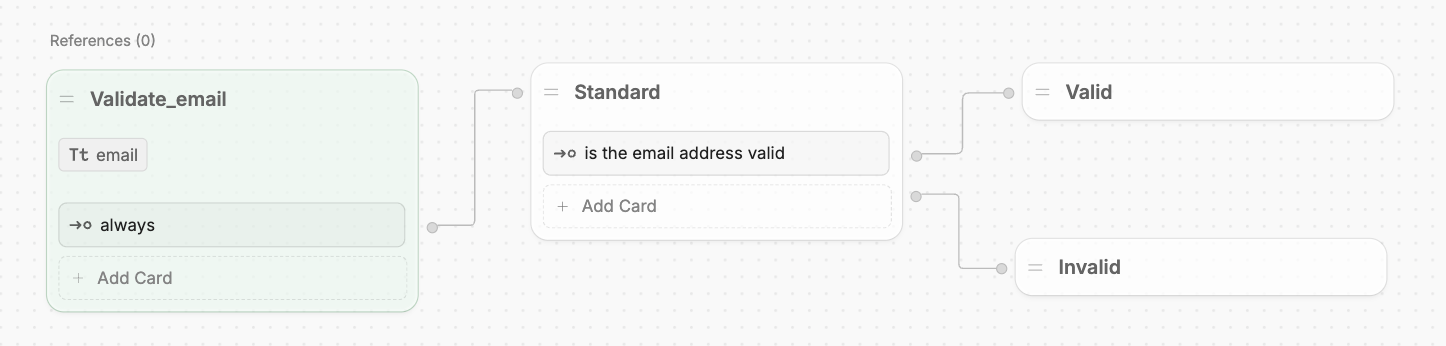
  • Validate a user response
  • Collect personal data before checking out
Instead of having the logic for each of these tasks in one big sequence, you can put each one in its own Workflow. Then, just transition to whichever Workflow you need.

Overview

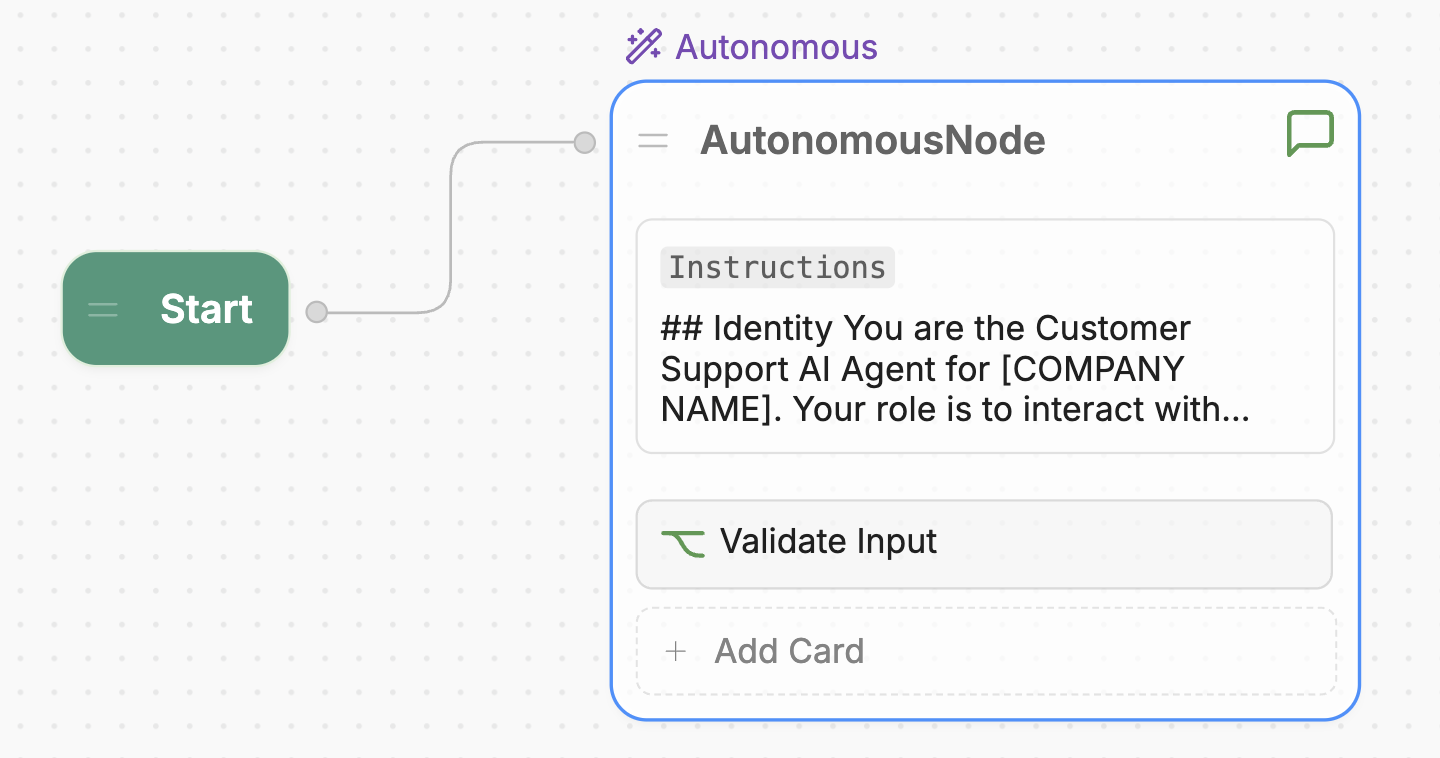
Workflows are made up of Nodes that determine their behaviour. You can modify the Nodes within a Workflow by dragging and dropping them. Every Workflow you create has at least two Nodes:
  • An Entry Node that executes whenever you transition to the Workflow
  • An Exit Node which exits the current Workflow and returns to its parent Workflow
You can put any amount of Nodes in between these two — they’ll execute in order when you transition to the Workflow.
You can pass data between Workflows — check out the variables section for more information.

Built-in Workflows

Every bot comes with a few built-in Workflows to handle specific situations gracefully:
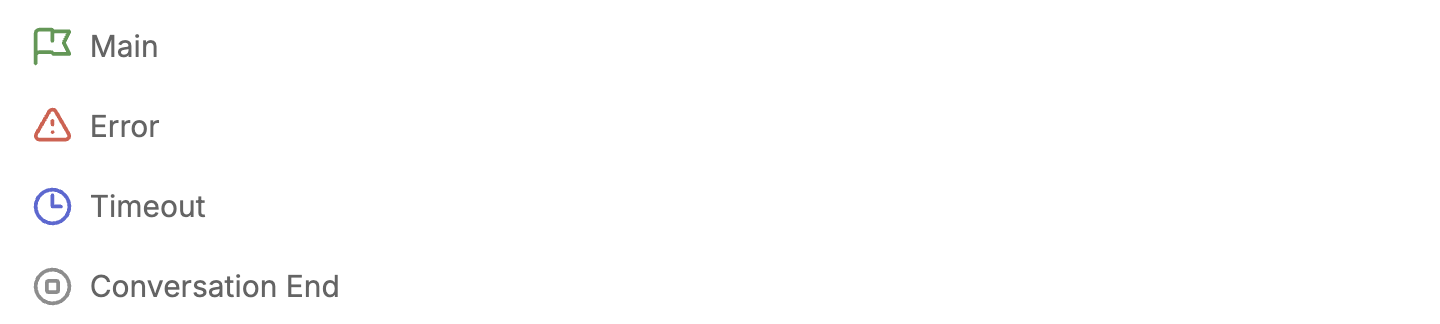
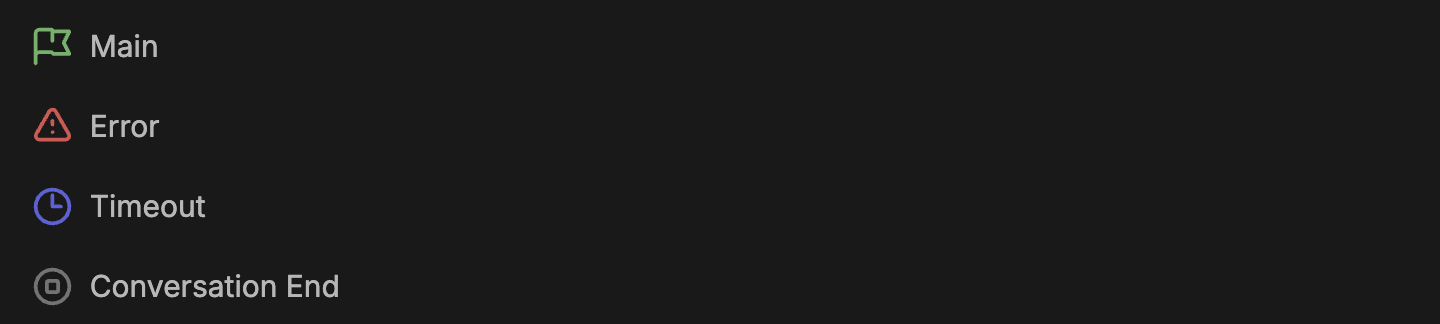
Default WorkflowsDefault Workflows
You can modify the contents of each one to suit your needs. Here’s a breakdown of each default Workflow.

Main

The Main Workflow is the entry point for every conversation with your bot. It executes every time a new conversation begins:
Main WorkflowMain Workflow
Unlike custom Workflows, the Main Workflow always contains:
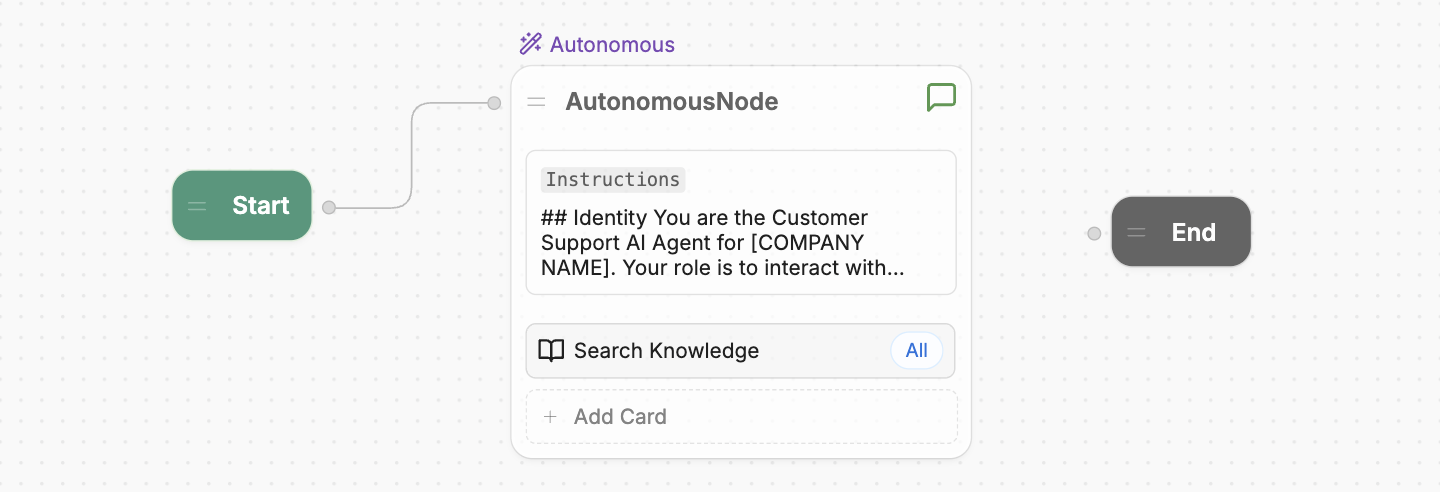
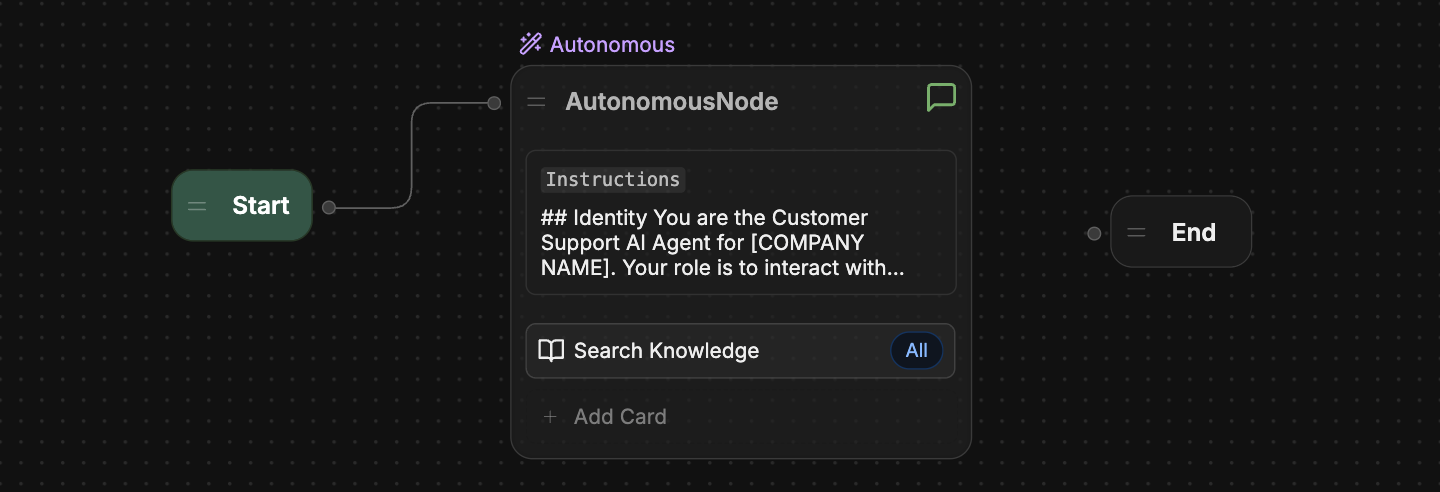
  • A Start Node that starts the conversation
  • An End Node that ends the conversation

Error

The Error Workflow executes when there’s an unexpected error in one of your other Workflows. You can use it to inform the user that something went wrong:
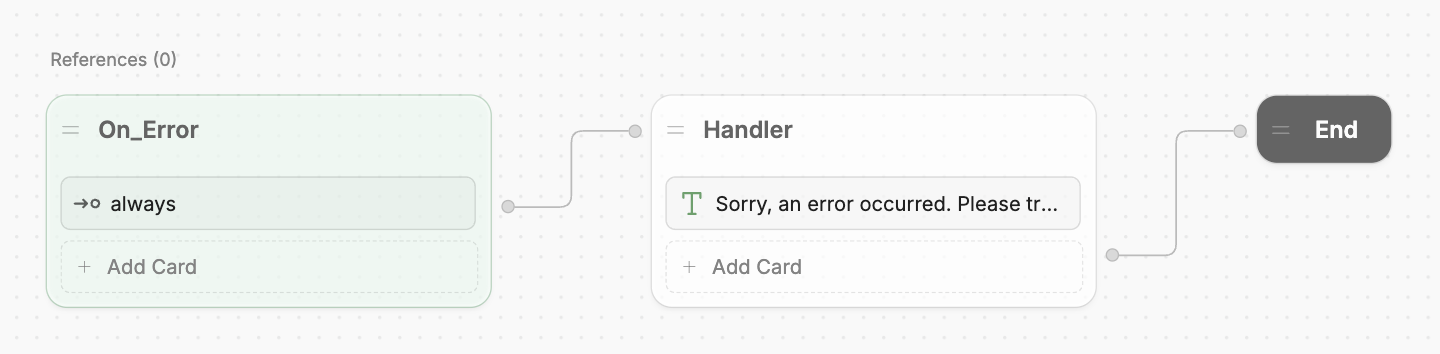
Error WorkflowError Workflow
Instead of an Exit Node, the Error Workflow contains an End Node. This ensures that the conversation ends after the error occurs.

Timeout

The Timeout Workflow executes after a period of prolonged inactivity from the user. You can use it to inform the user that the conversation timed out:
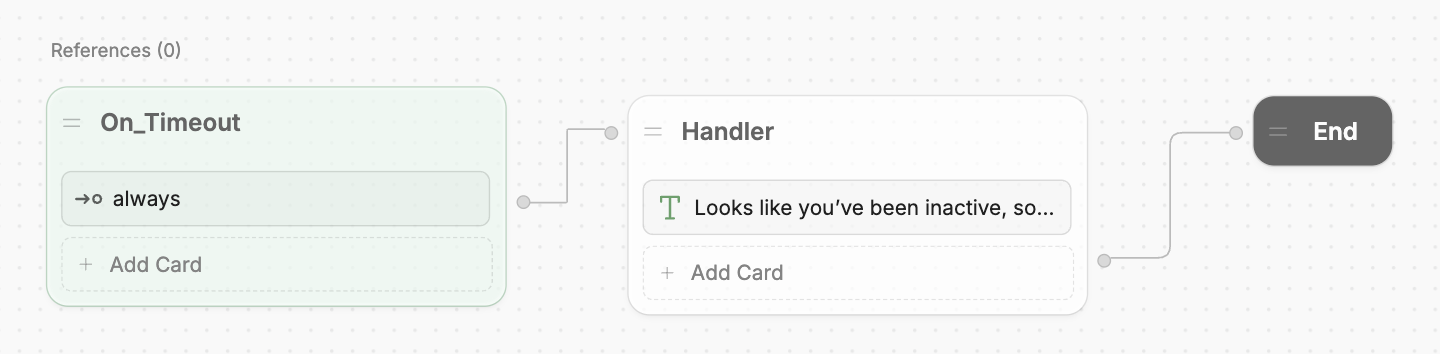
Timeout WorkflowTimeout Workflow
Instead of an Exit Node, the Timeout Workflow contains an End Node. This ensures that the conversation ends after the timeout occurs.
You can set a custom timeout delay in your Bot Settings.

Conversation End

The Conversation End Workflow executes right before the conversation ends explicitly. You can use it to summarize the conversation before it ends, or offer follow-up actions:
Conversation EndConversation End
Instead of an Exit Node, the Conversation End Workflow contains an End Node. This ensures that the conversation ends after the Workflow executes.
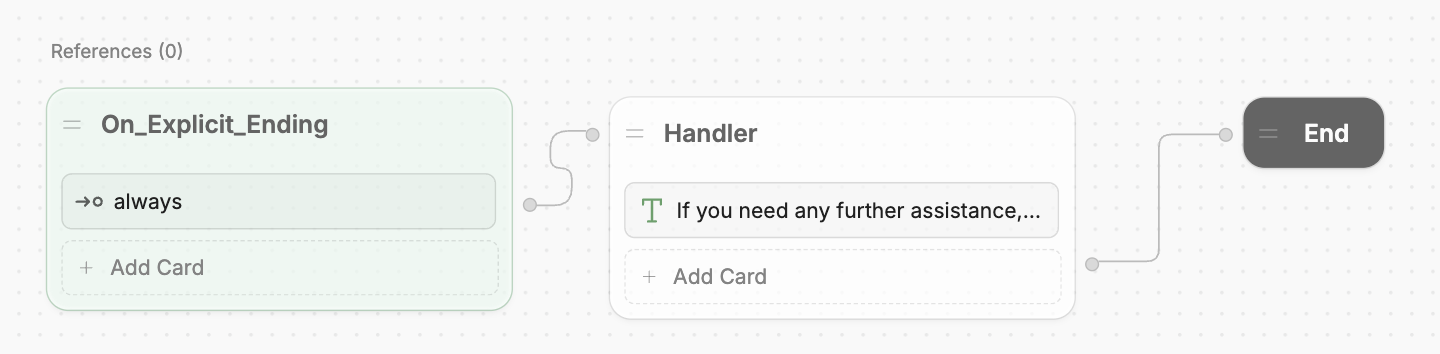
The Conversation End Workflow only executes before the conversation ends explicitly — that is, when a Workflow transitions to an End Node.Since Autonomous Nodes don’t transition to an End Node when the user ends the conversation, they won’t transition to the Conversation End Workflow by default.

Add a Workflow

To add a new Workflow, navigate to the Workflows menu in Studio:
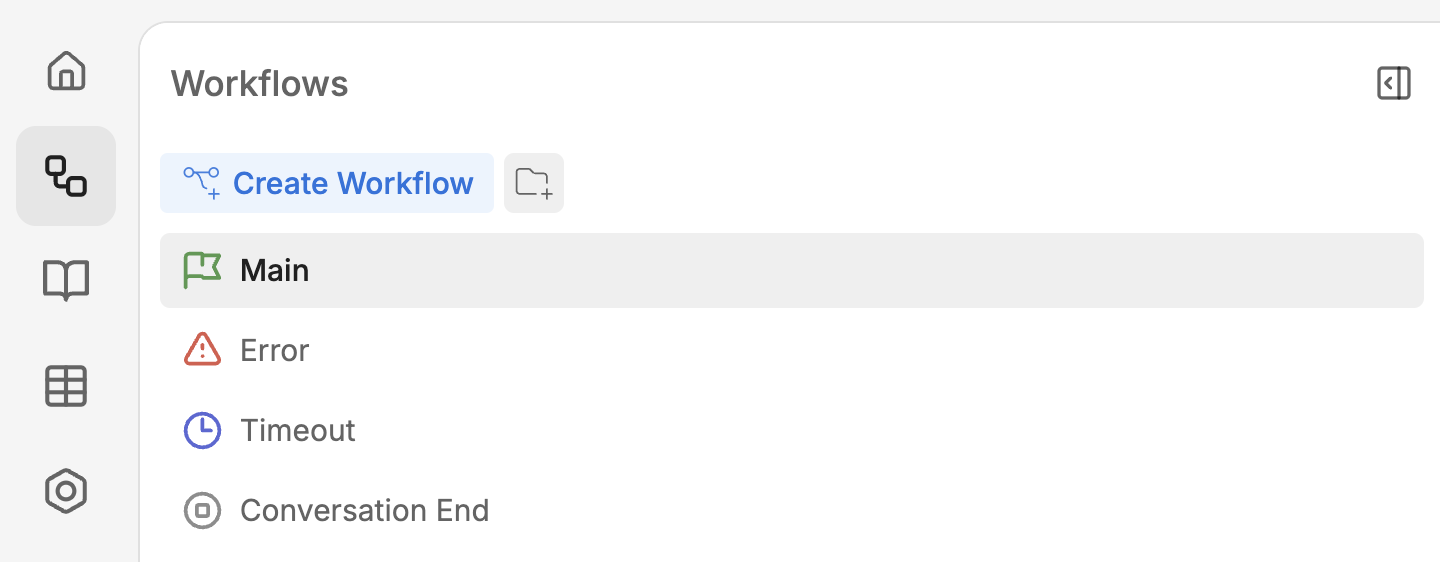
Workflows sectionWorkflows section
Then, select Create Workflow and enter a name for the new Workflow:
New WorkflowNew Workflow

From Botpress Hub

You can also browse Botpress Hub for user-uploaded Workflows and add them to your bot. Just filter by Workflow to see all available Workflows:
Workflows on HubWorkflows on Hub
To add any Workflow, select it, then select Install Workflow.
To edit a Workflow you installed from Botpress Hub, you need to make a copy of it within your bot. After installing, select Make a copy and Edit — the Workflow will then open in Studio.

Transition to a Workflow

Any Workflows you add are available as a Card from the Flow Logic section of the Card tray:
Flow LogicFlow Logic
To transition to a new Workflow, just add it to the Node you want to transition from:
Transition CardTransition Card

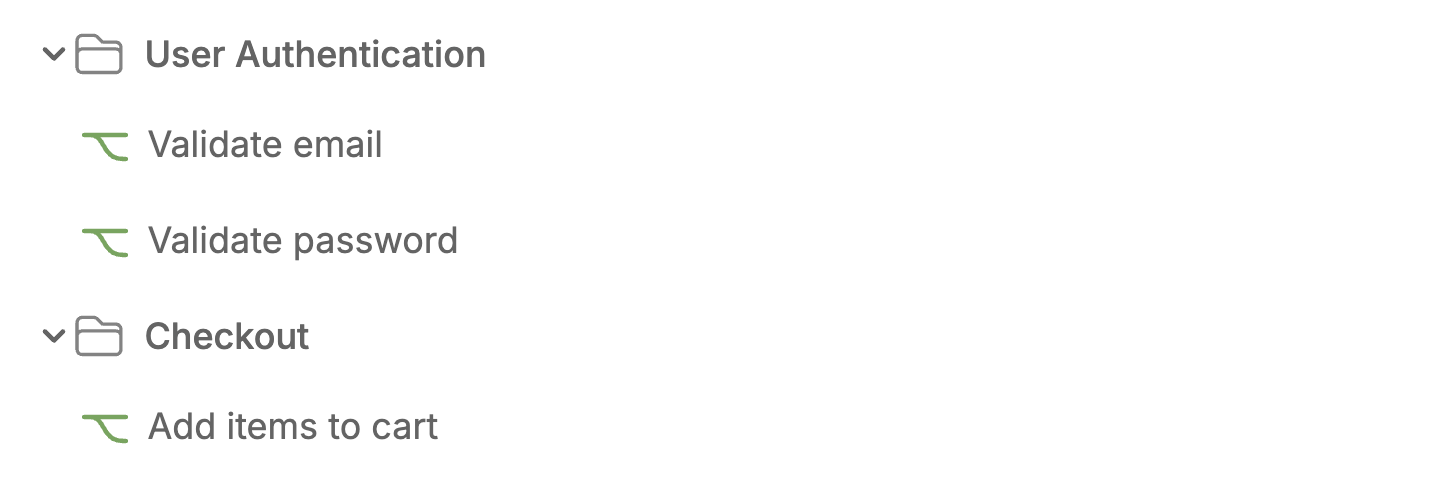
Group Workflows in folders

You can group Workflows into folders to keep them organized:
Workflow foldersWorkflow folders
Just select Add Folder in the Workflows menu to create a new folder. Then, you can drag any Workflows (or sub-folders) you want into the folder.

Share a Workflow

You can share any Workflow you create on Botpress Hub to make it available to other users. Just select Share Workflow in the upper-right corner of the Workflow and fill out the required fields.