You can now override default LLMs directly in your Autonomous Node’s settings.This method is simpler and recommended for most use cases. The guide below remains available for advanced use cases.
You will need:
- A published bot
- A Workflow containing more than one Autonomous Node
- Familiarity with JavaScript
Step 1: Find the Node, Workflow and model IDs
First, you need to find:- The ID of the Autonomous Node whose model you want to change
- The ID of the Workflow containing that Autonomous Node
- The ID of the model you want to change to
Node and Workflow IDs
- Start a conversation with your bot in the Emulator.
- Continue until the bot transitions to the Autonomous Node whose model you want to change:
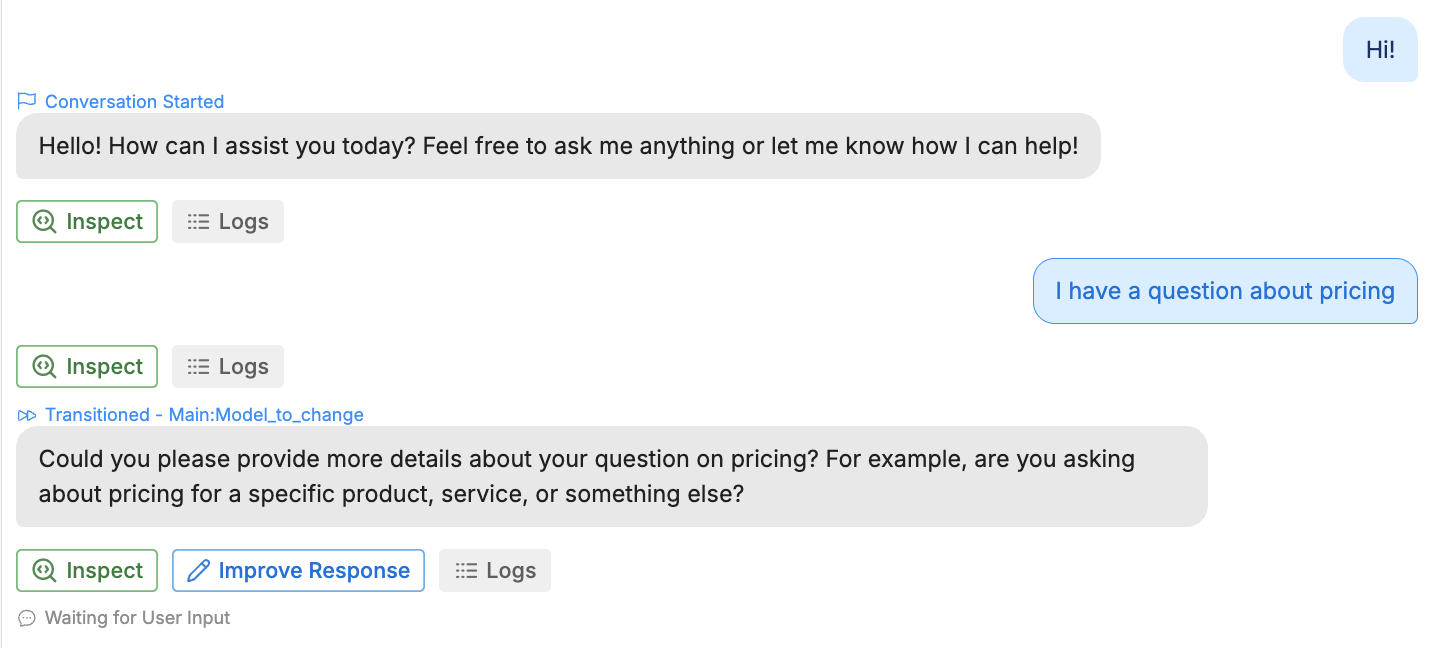
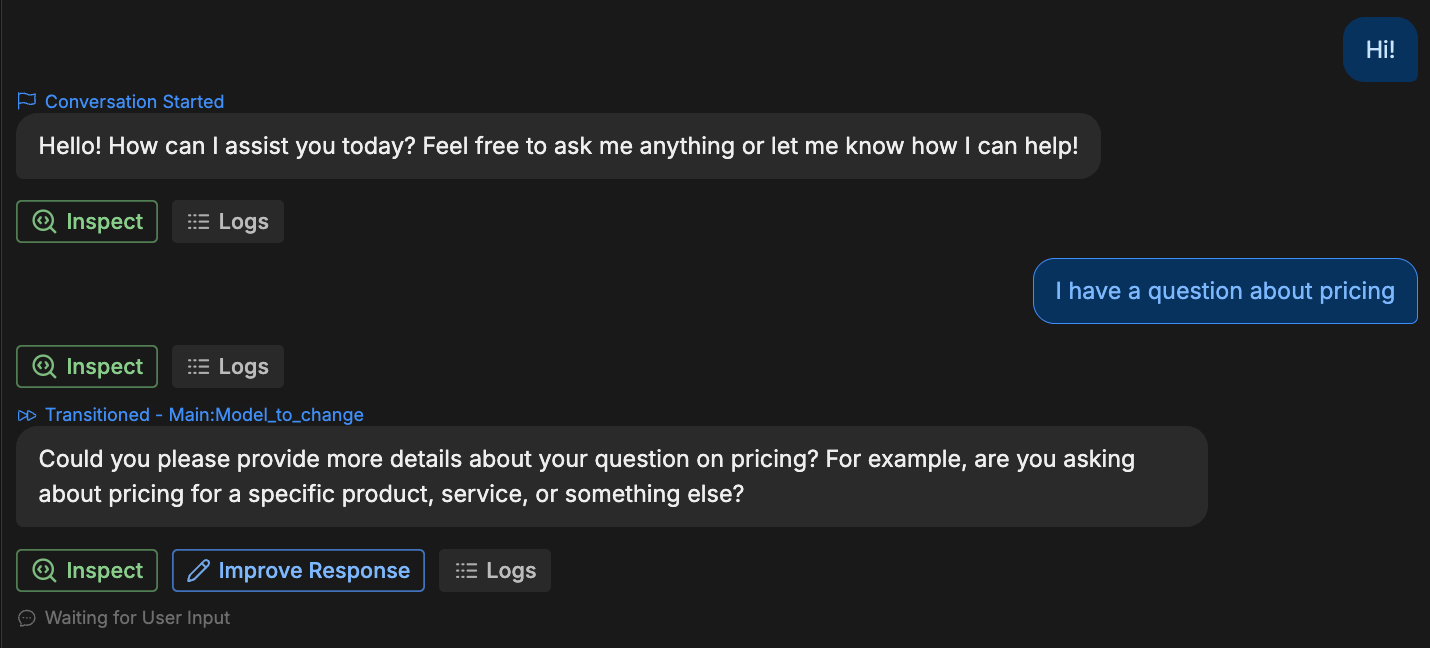
- Select one of your messages from after the bot transitioned to the new Autonomous Node. Then, open the JSON tab in the bottom panel.
- Under Payload, navigate to
state > context:
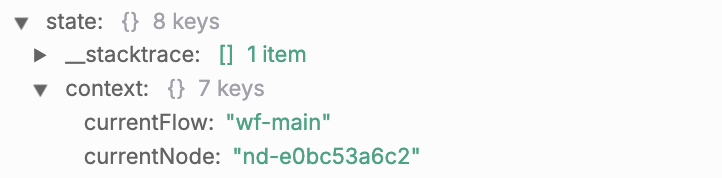
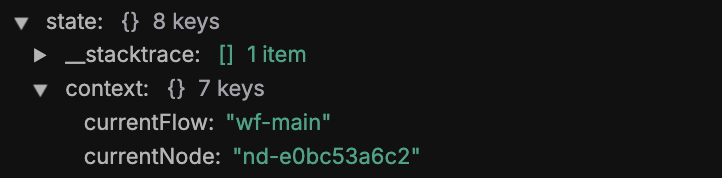
- Copy the values of
currentFlowandcurrentNode—these are your Workflow’s ID and Autonomous Node’s ID.
Model ID
- Return to your conversation in the Emulator.
- Select Inspect on any message generated by the Autonomous Node whose model you want to change.
- Select View Raw in the upper-right corner.
- Navigate to
context > options > models. - Find the model you want to switch to. Expand it, then copy its full
id. For example, for GPT-4.1:


Step 2: Add a Hook to change models
- In the Studio, navigate to the Hooks section.
- Select Create Hook and set its type to Before LLMz Execution.
- Paste the following code into the Hook:
- Replace
yourWorkflowIDandyourNodeIDwith your actual IDs. - Replace
yourModelChoicewith the actual model ID.
Now, this Autonomous Node will use a different model than the default model specified in your Bot Settings.
Troubleshooting
Here are some troubleshooting tips:State is undefined
If thestate property from Step 1 is undefined, make sure you’re viewing your own message’s logs—not the Autonomous Node’s.
Check if IDs matched
You can check if the Node and Workflow IDs matched by checking your bot’s logs after transitioning to the Autonomous Node in the Emulator:

Check if model actually changed
To check if the model actually changed:- Select Inspect on any response from the target Autonomous Node.
- Select View Raw in the upper-right corner.
- Navigate to
context > options > model. This will display model the Autonomous Node used for the response.